LackRack V3
LackRack V3 - Cheaper, stronger, complies with standards!
Inspired by the original LackRack - Eth0Wiki and later revisions NiBuch LackRack-20xx, I decided to improve on these designs with real rack mounts.
Plan
Few issues with the original designs:
- Required reinforcing the legs with wood -> bit of a hassle.
- Rack equipment rarely has round rack ears -> finding good wood screws is a major issue.
- Wood screws and high tech electronics dont go hand in hand.
- Depending on config, has protruding equipment -> fiber connector danger!
What I want:
- Easy way to mount rack equipment with correct industry standard cage nuts and M6 bolts.
- Less woodworking.
- Metal supports for heavy rackmount stuff.
BOM
Shopping list with current (2025) pricing. Mind you, these were all bought in northern Europe.
- 2x IKEA LACK tables: IKEA LACK, 12,99 €/piece.
- 2x caster wheel, 10 €/piece.
- 2x caster wheel with lock, 15 €/piece.
- 2x 18U Rack rail: Adam Hall 61535B18 Rack Strip 18U, 9,20 €/piece.
- Woodscrews to attach the rack rail to LACK (already had).
- 5mm drillbit + drill (already had).
Total: 94,38 €
If you want to have rack rails front and back, add two more 18U rails.
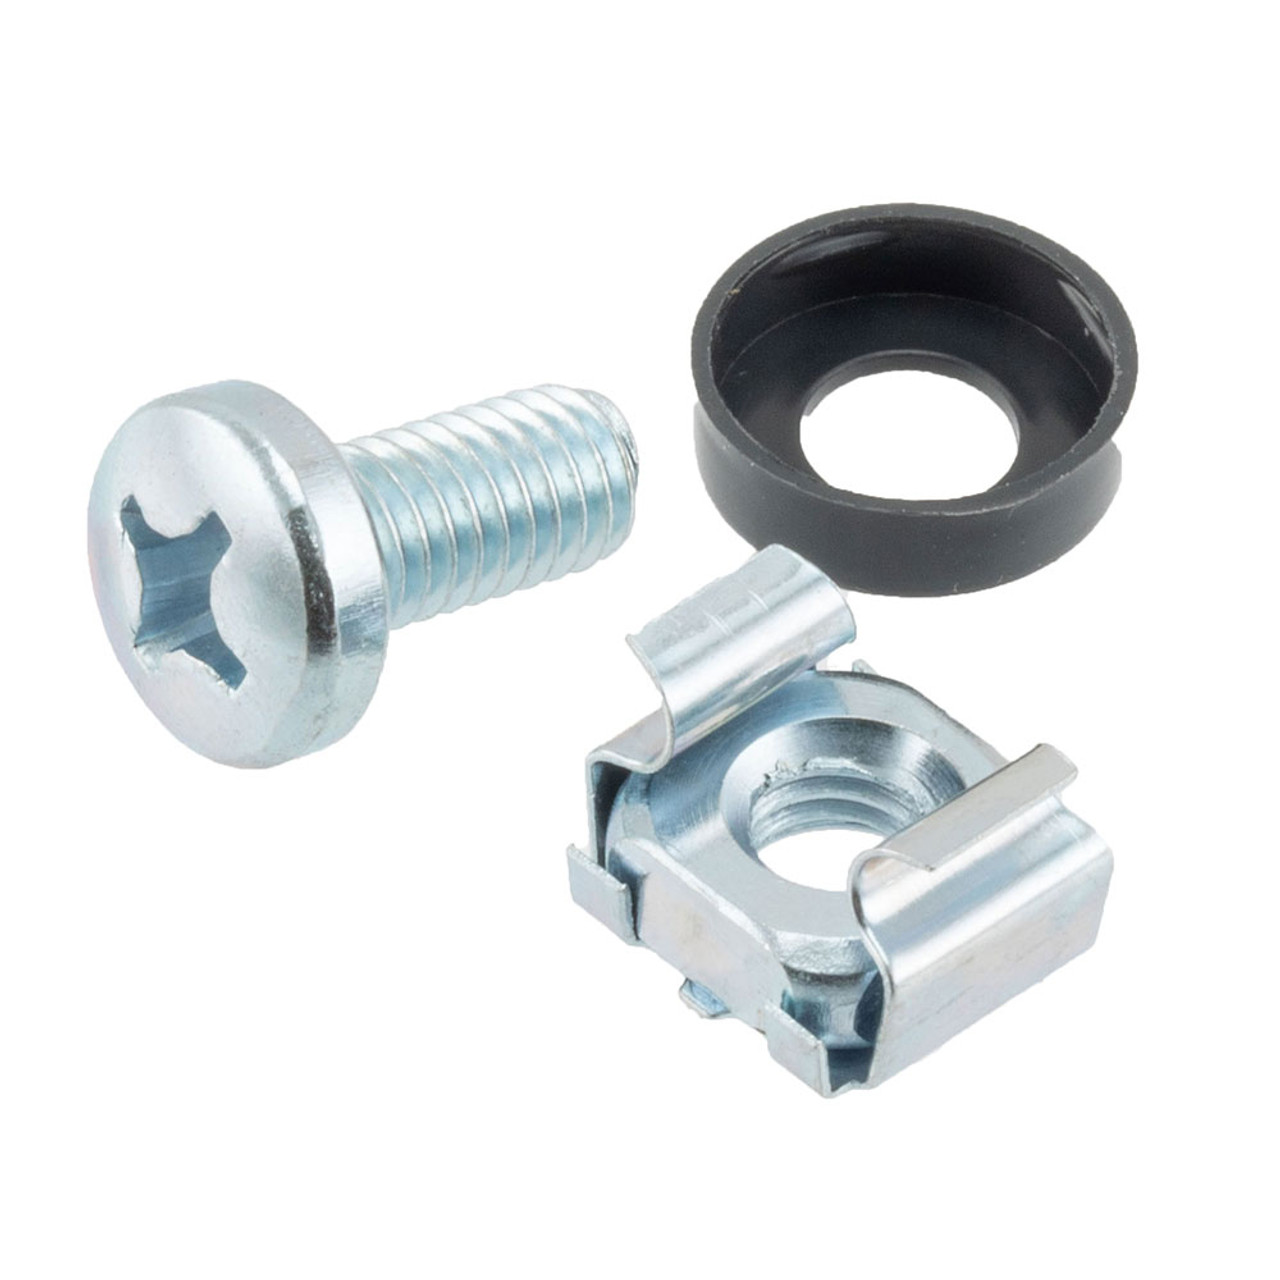
Mounting rack equipment uses standard cage nuts and M6 bolts:
Build
Almost finished, just missing a way to attach rear legs together, will update this later.
Tables with casters
Build both of the LACK tables according to IKEA instructions.
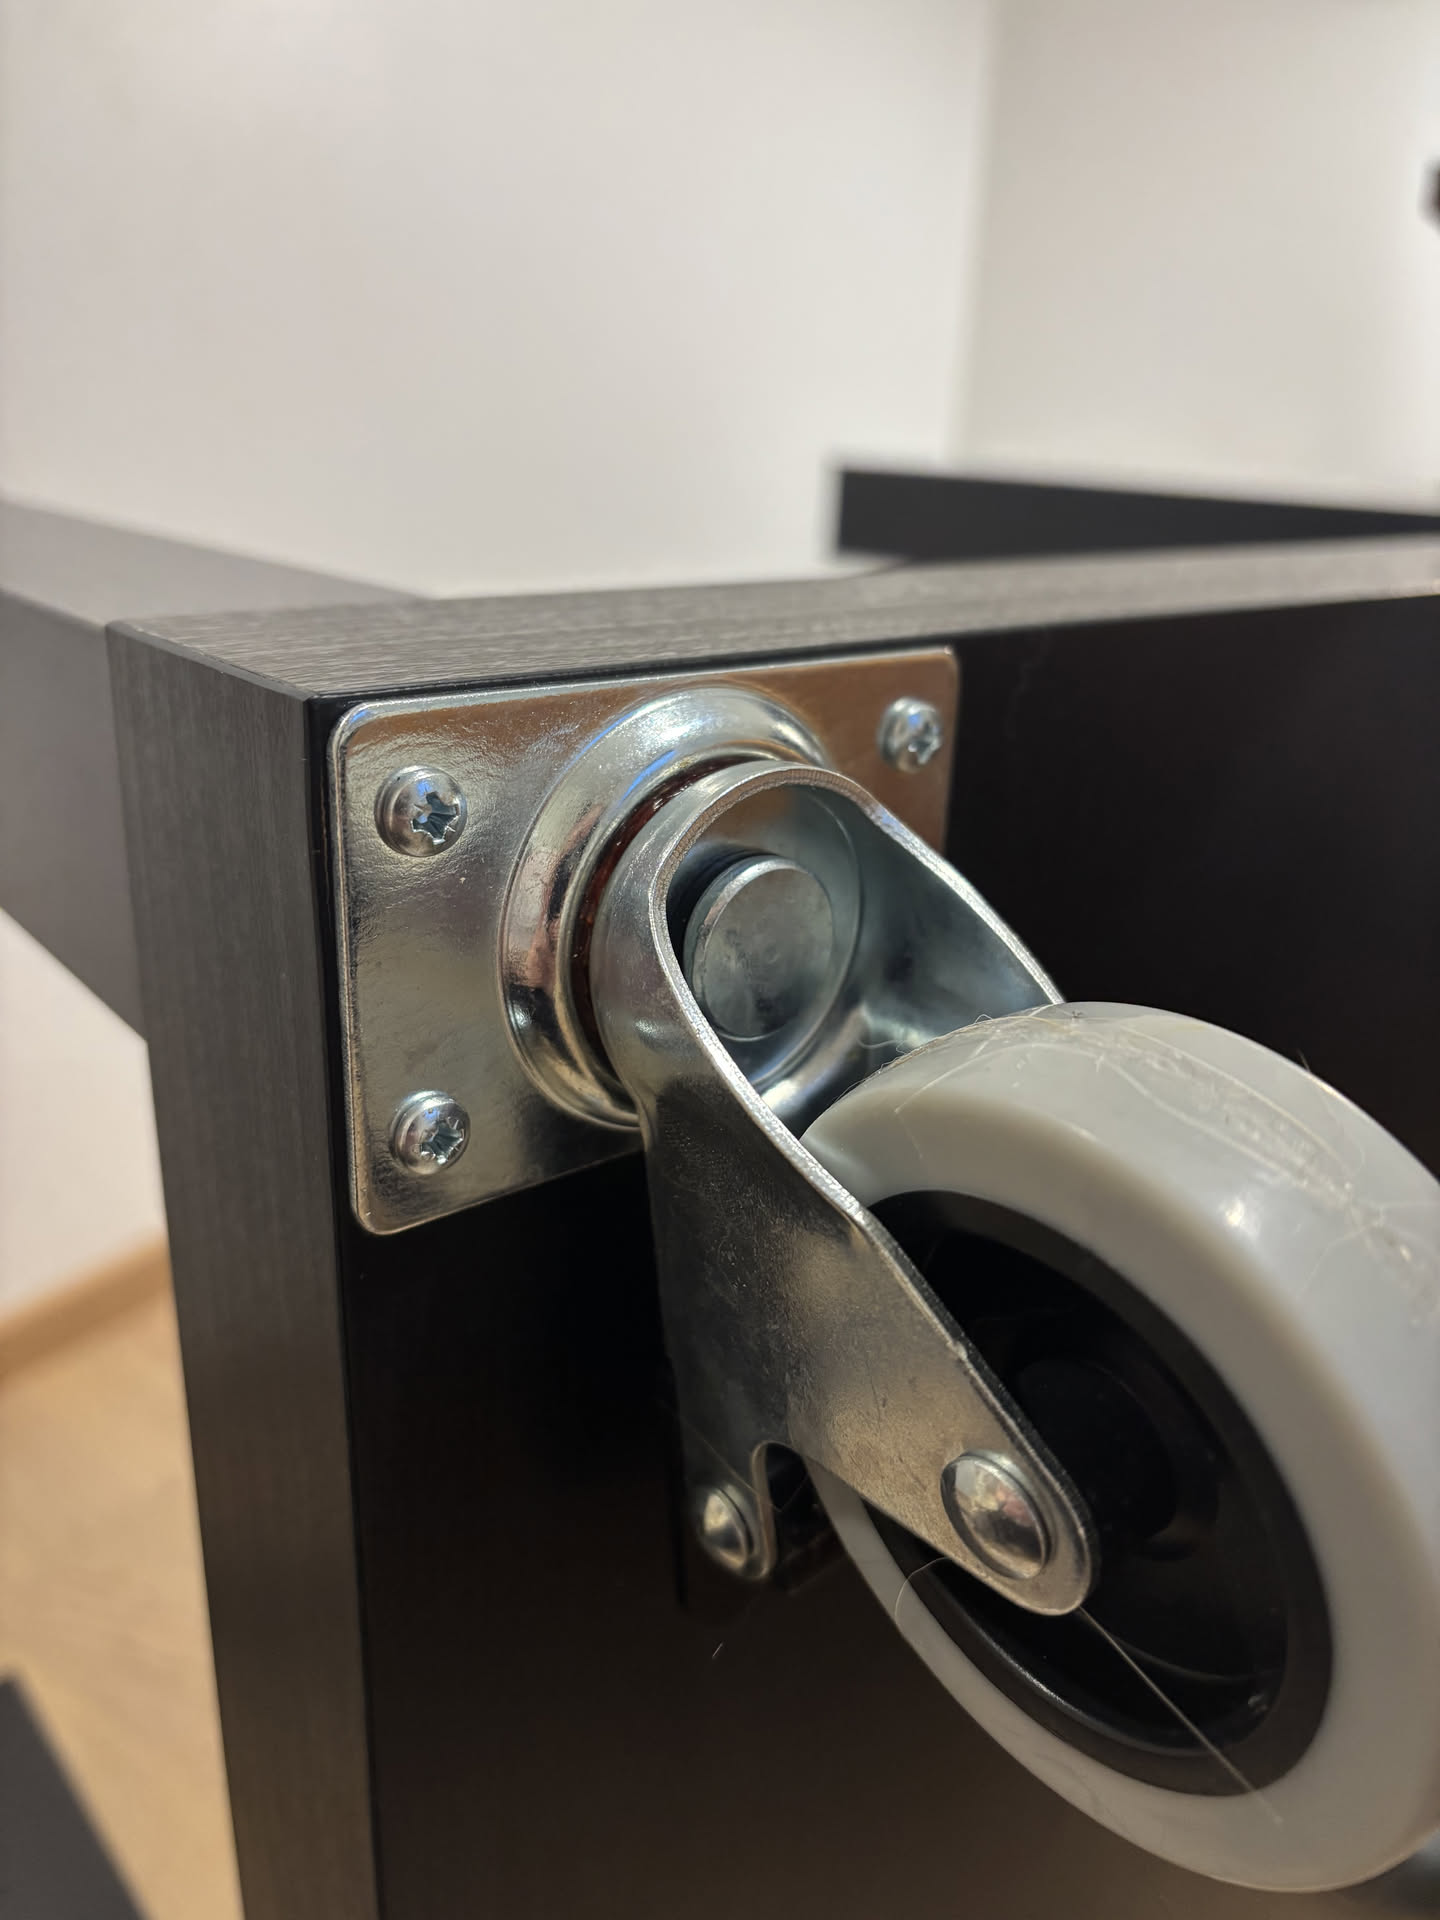
Next lets add the casters to the “bottom” table:
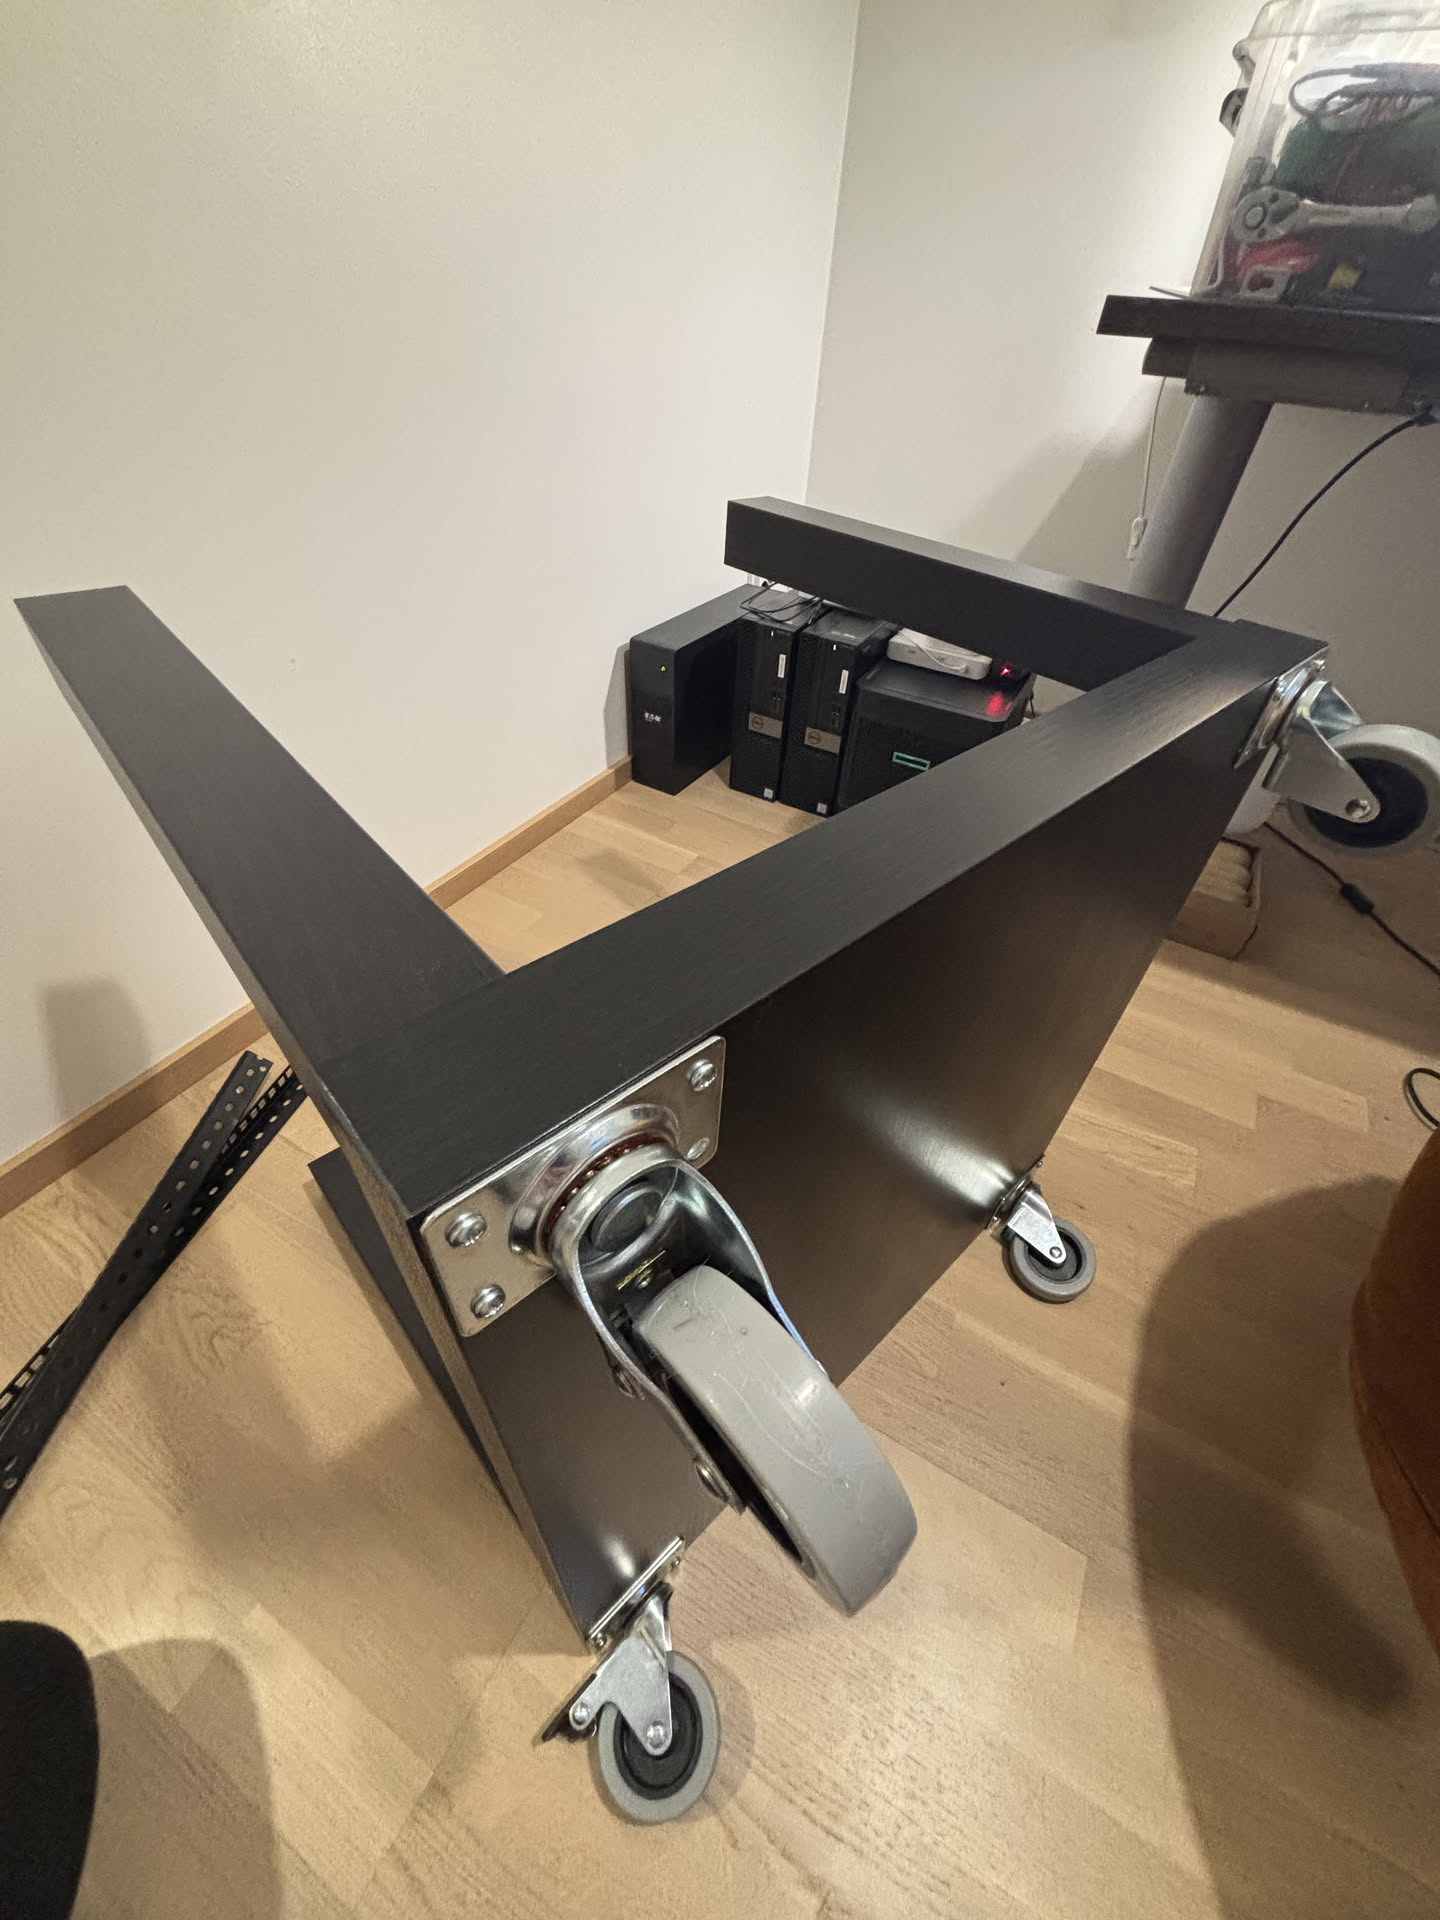 You only need three screws per caster, as the third closest to the center of the table does not really attach to anything:
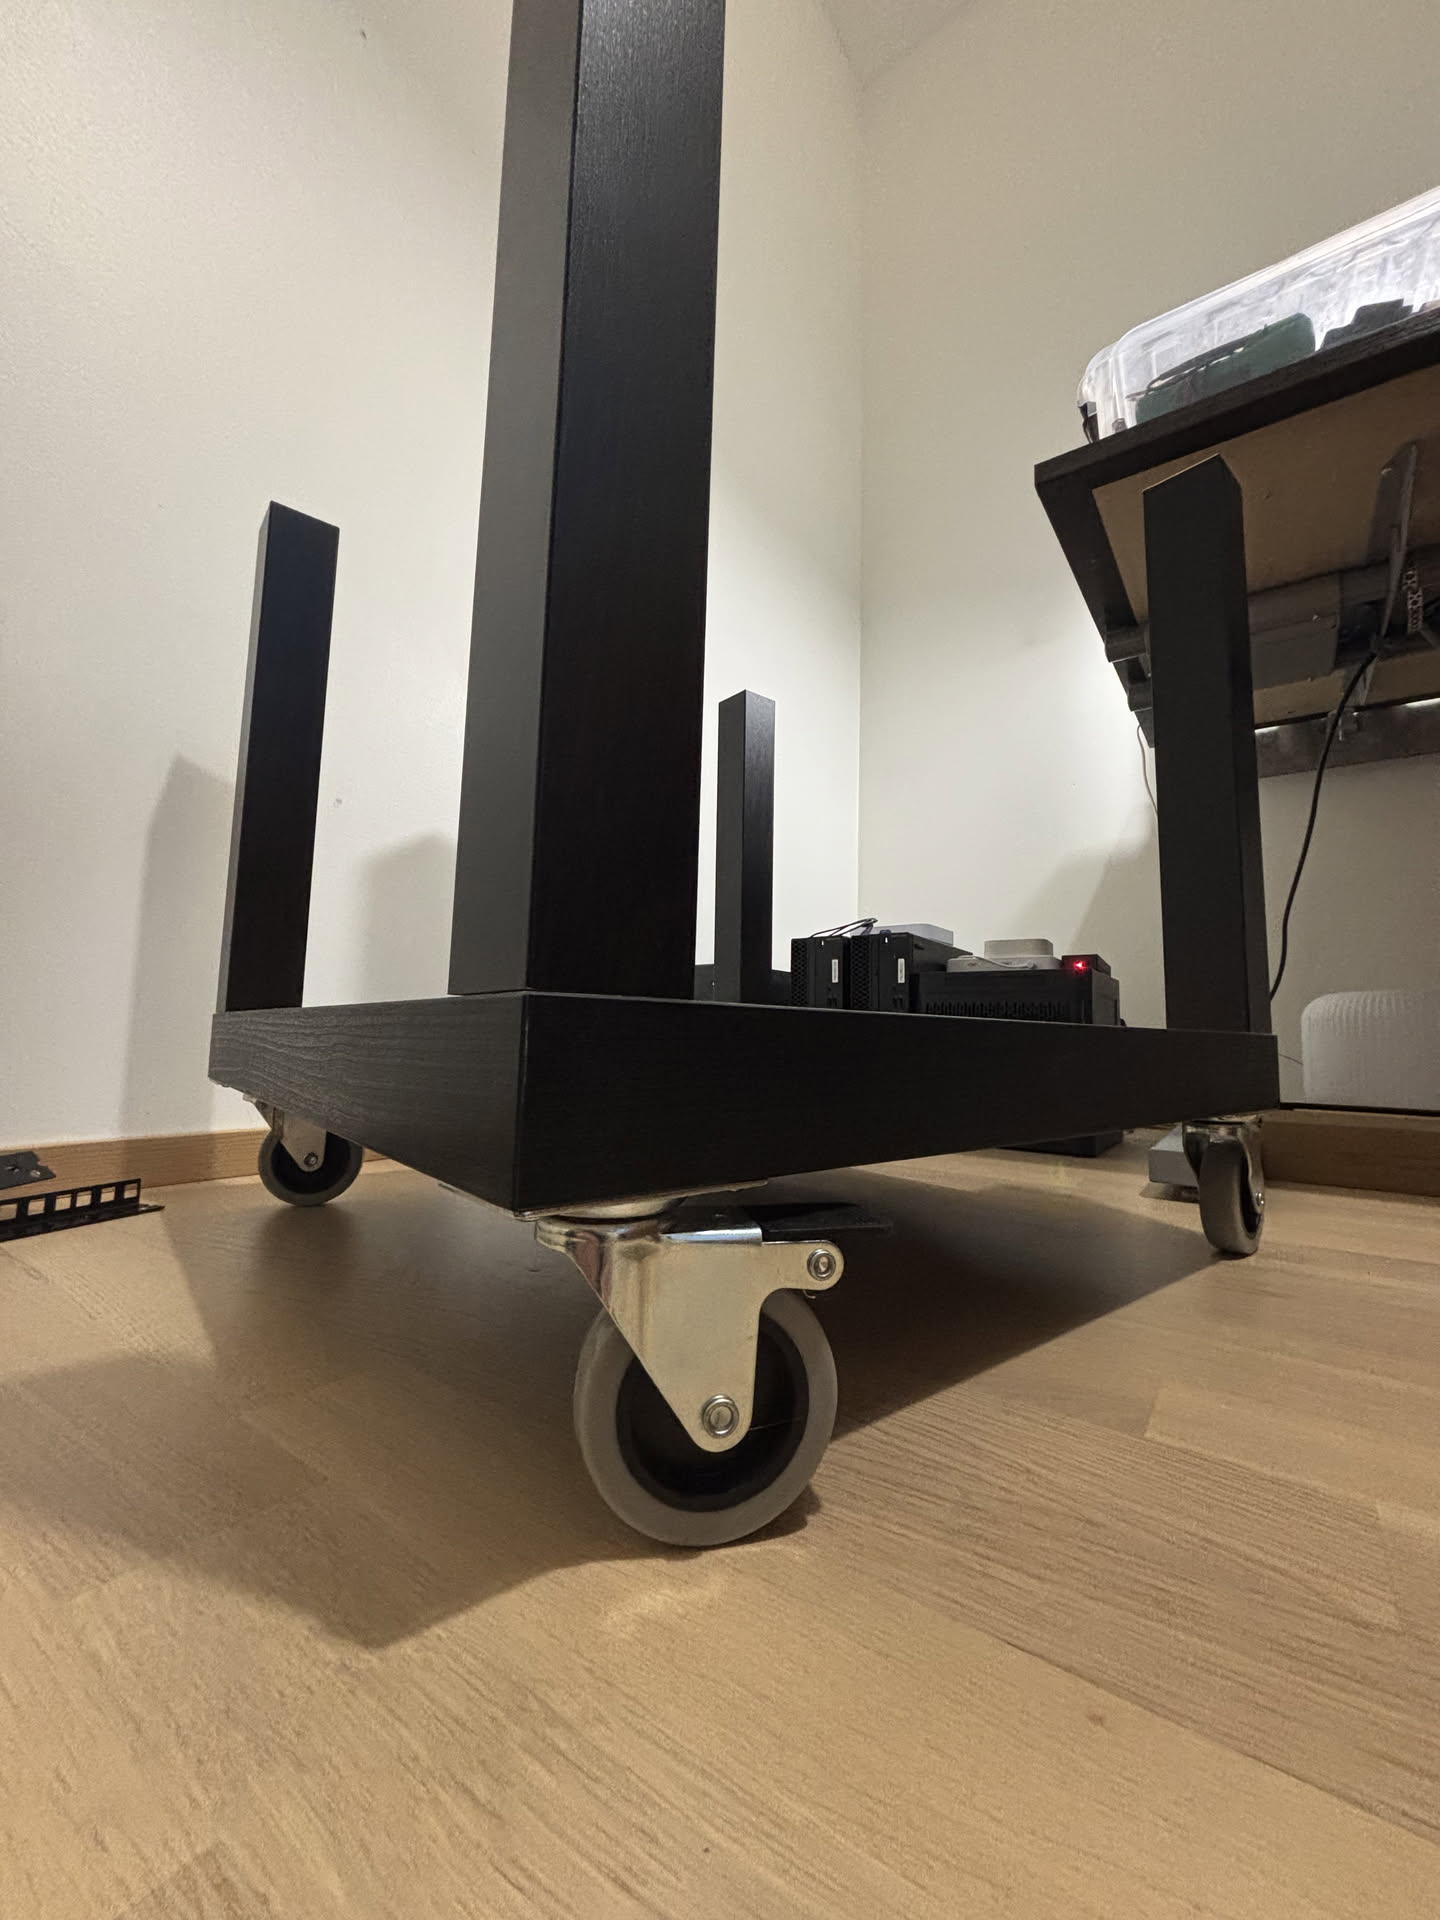
 Flip the table and enjoy the freely moving rack:
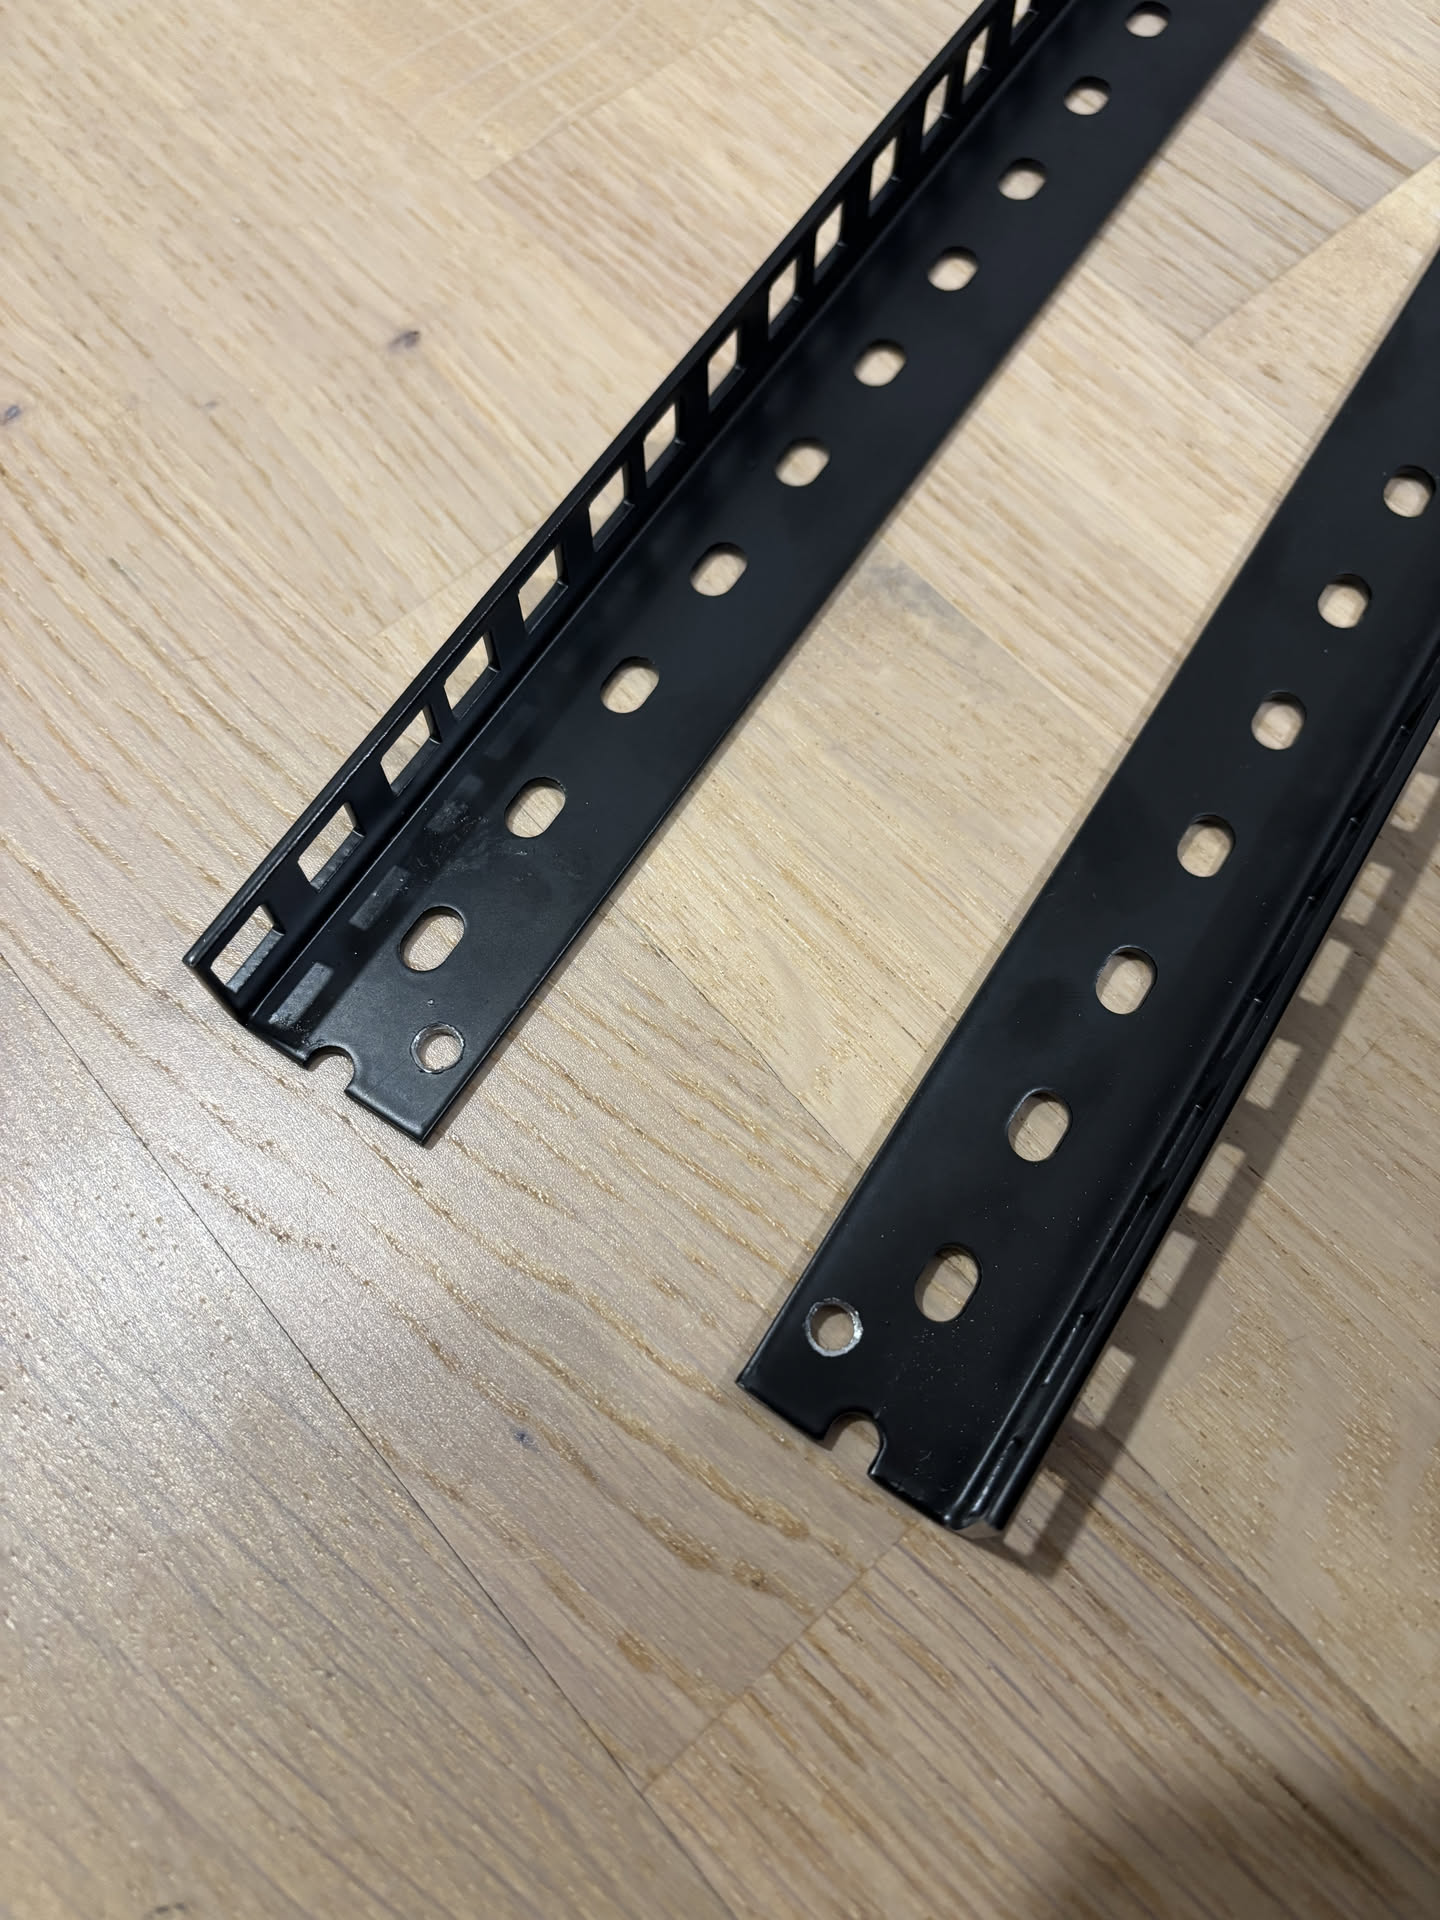
Custom rackrails
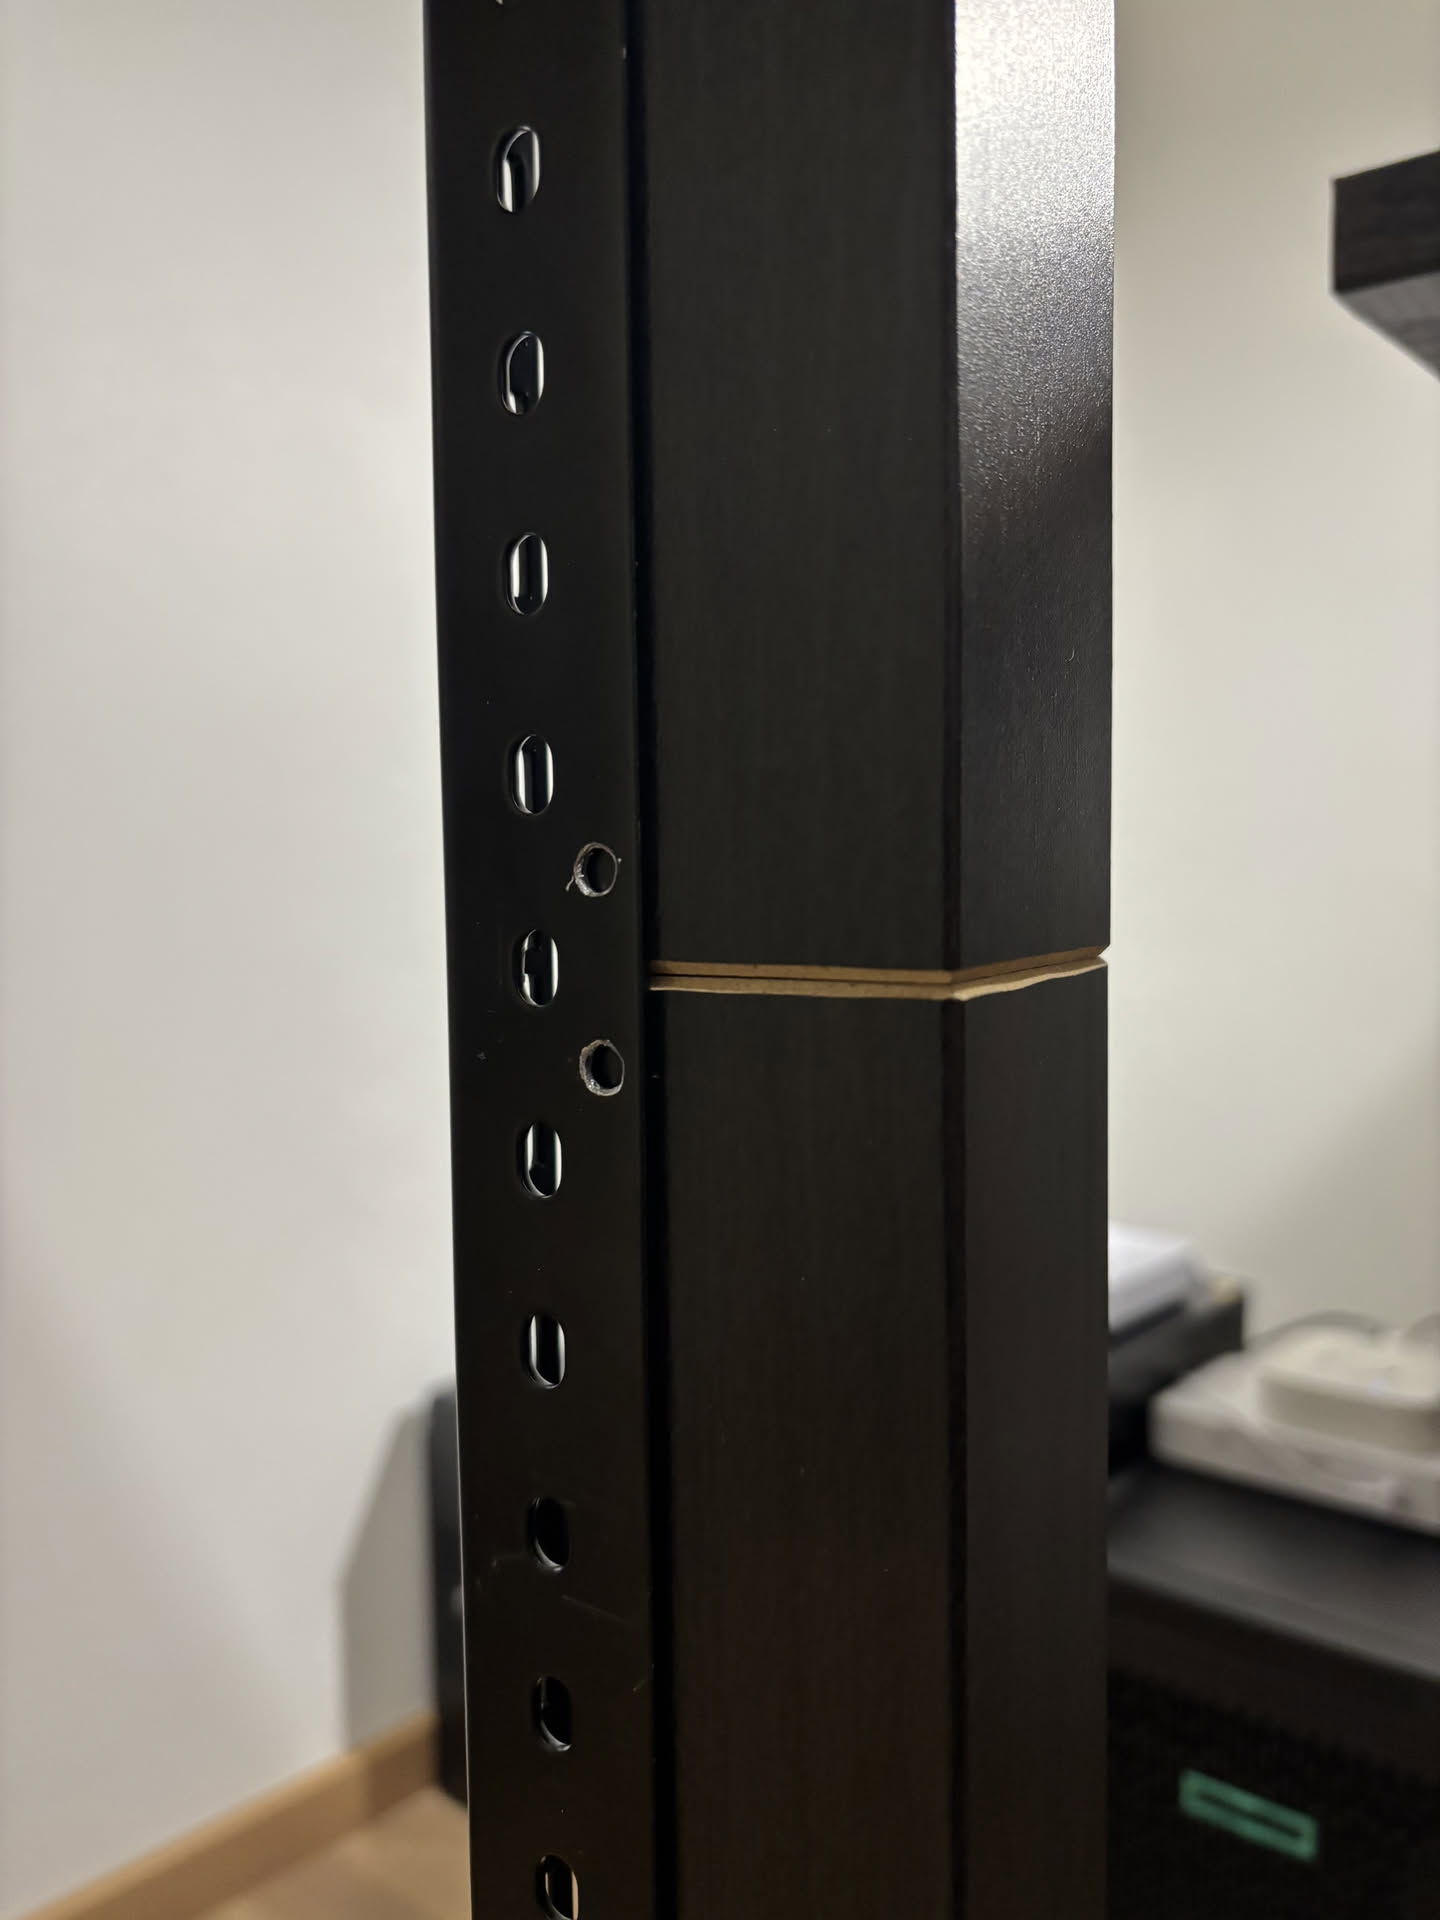
The 18U rackrails will with perfectly depending on how much paint they used in the factory… So you might need to file approx 0.5mm from either end of the rail to make the IKEA legs sit flush against each other.
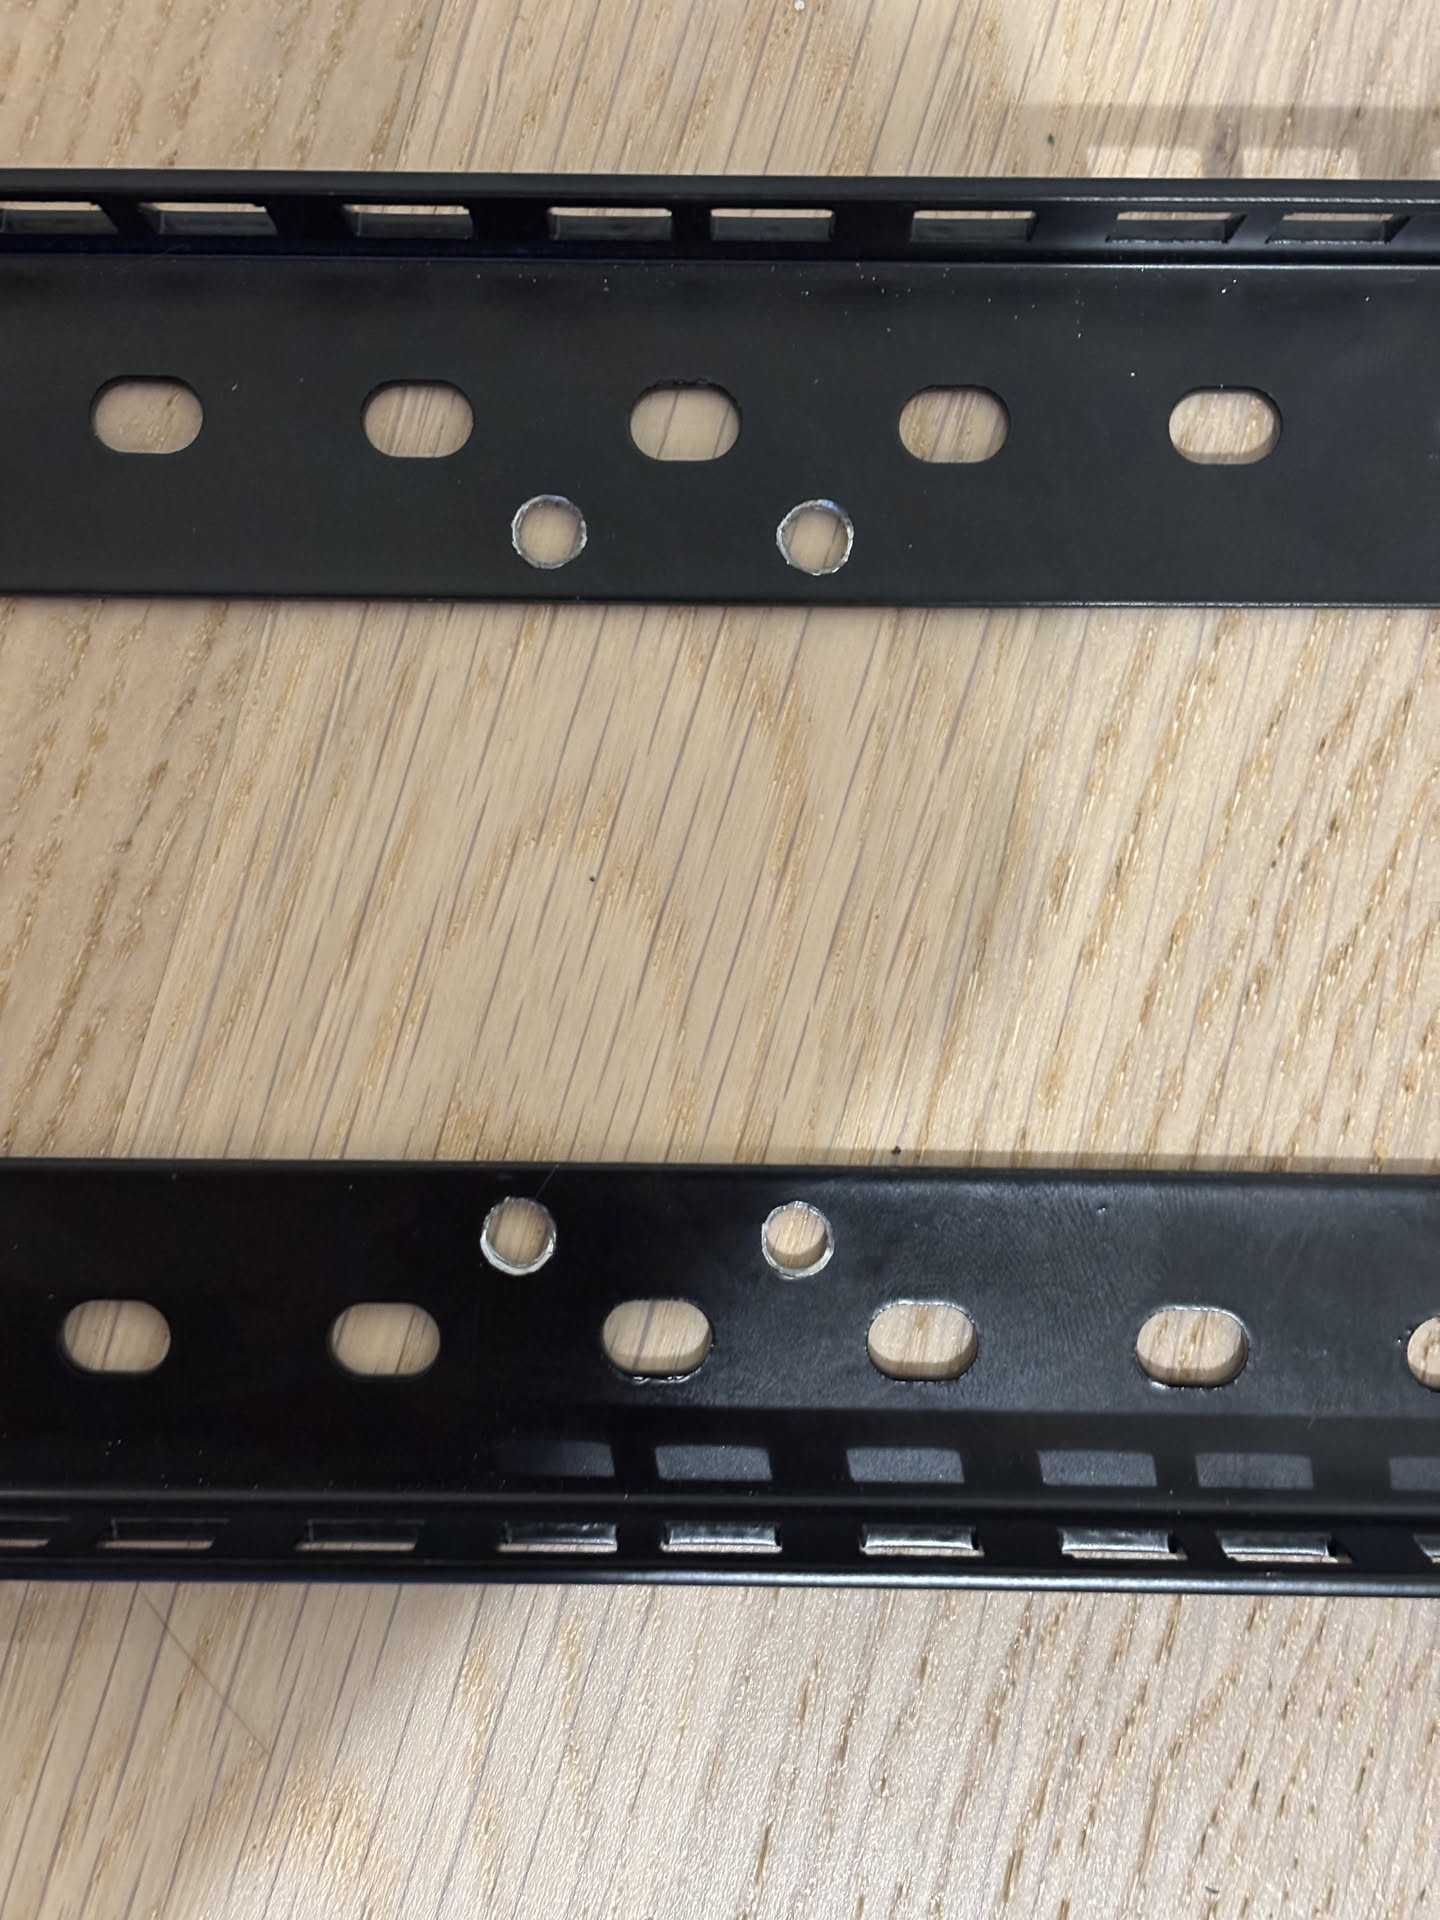
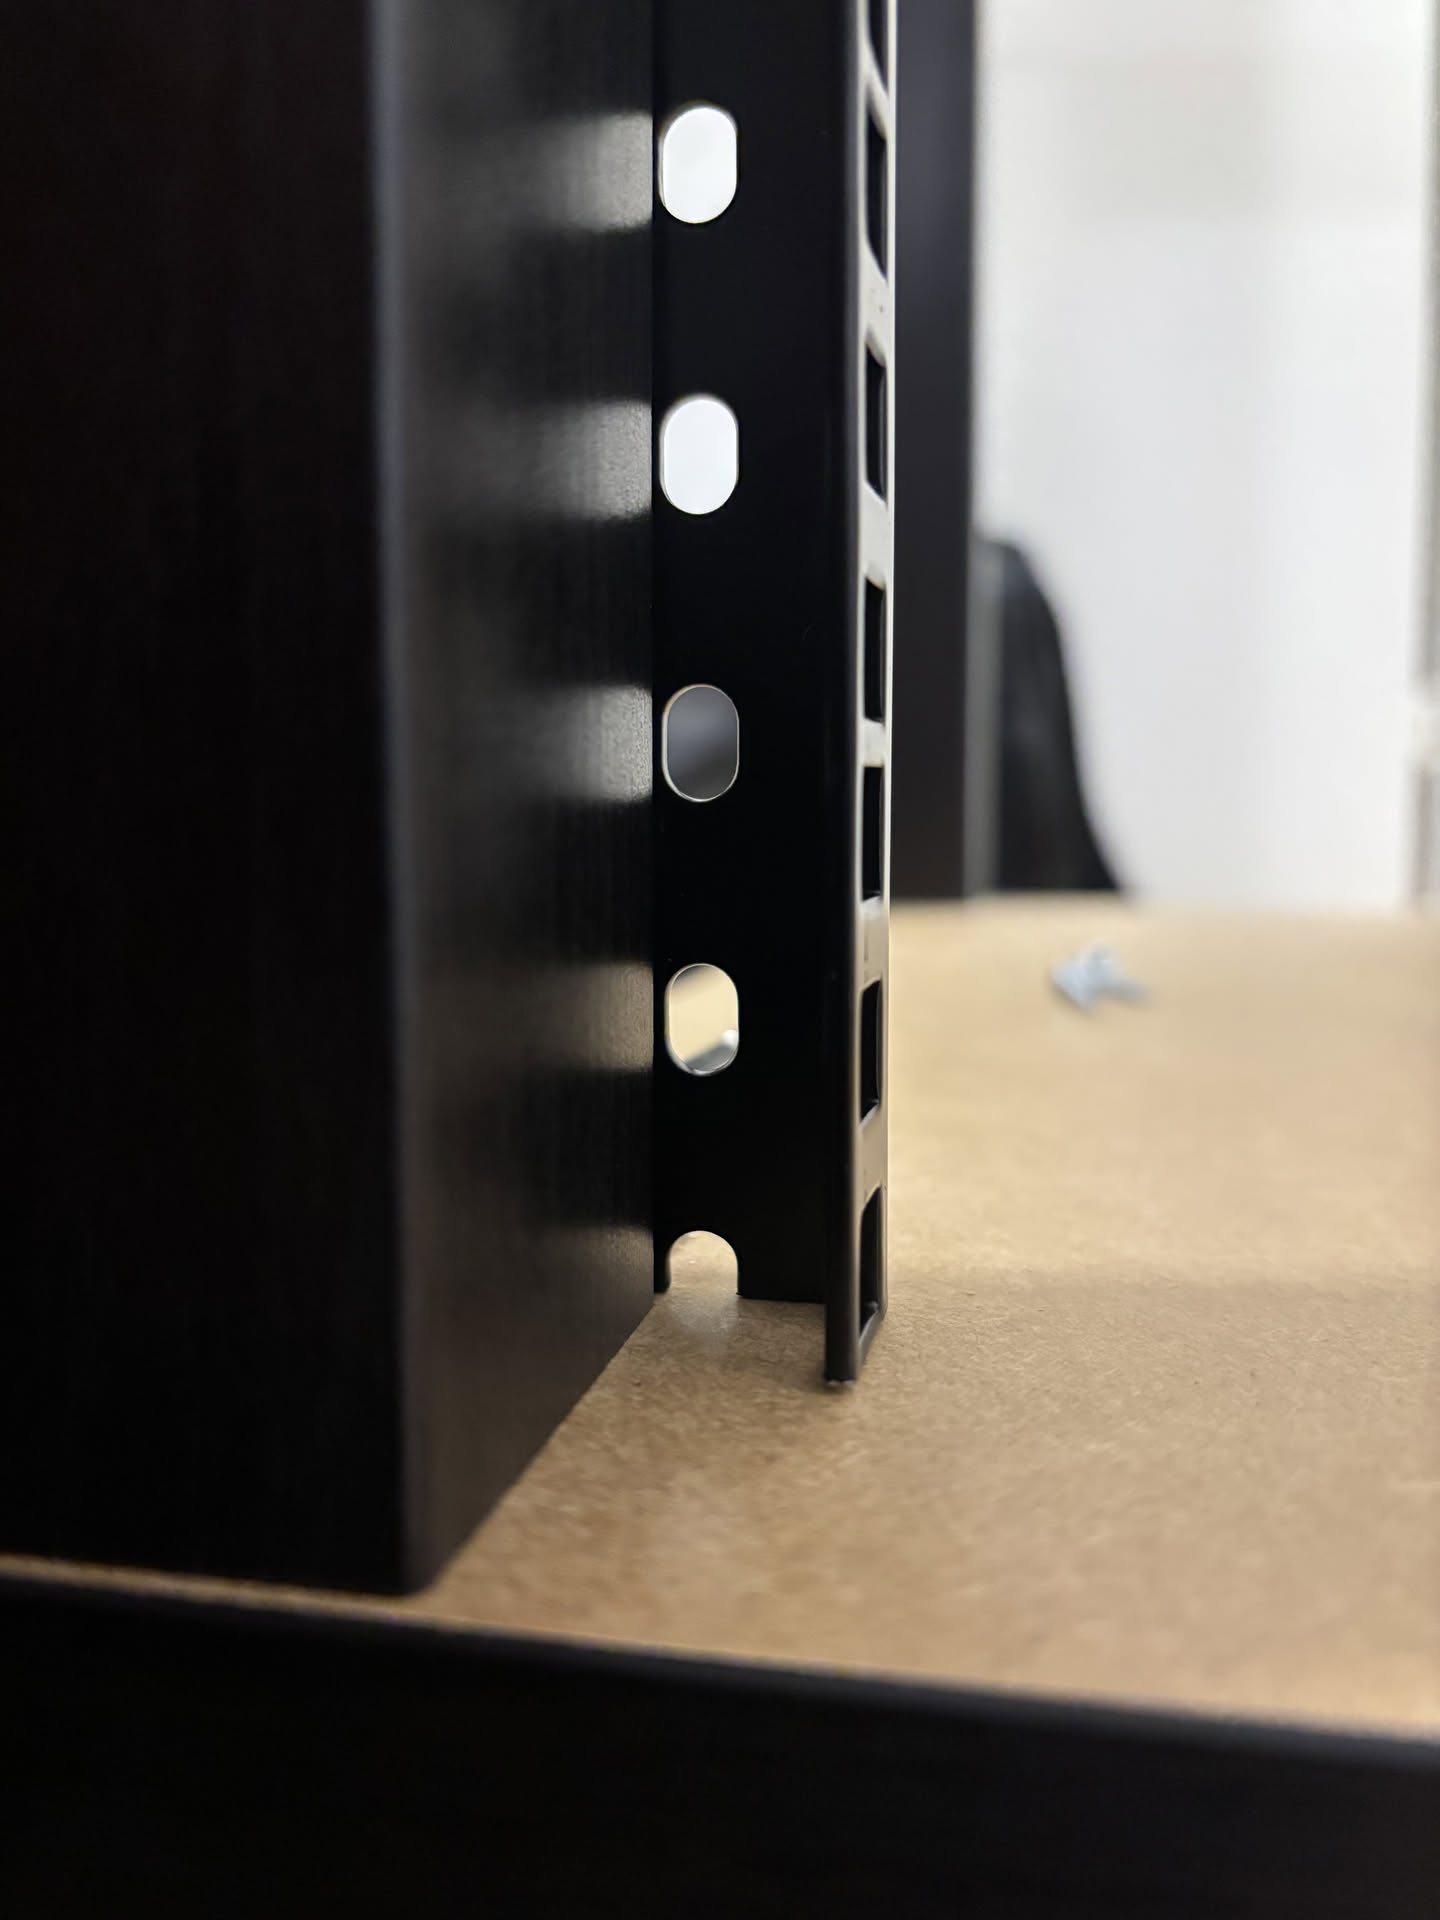
To attach the rails to the tables, you will need to drill four holes per rail.
Use 5mm drill to make the holes and 7mm to chamfer them.
One hole on each end:
 And two in the center:
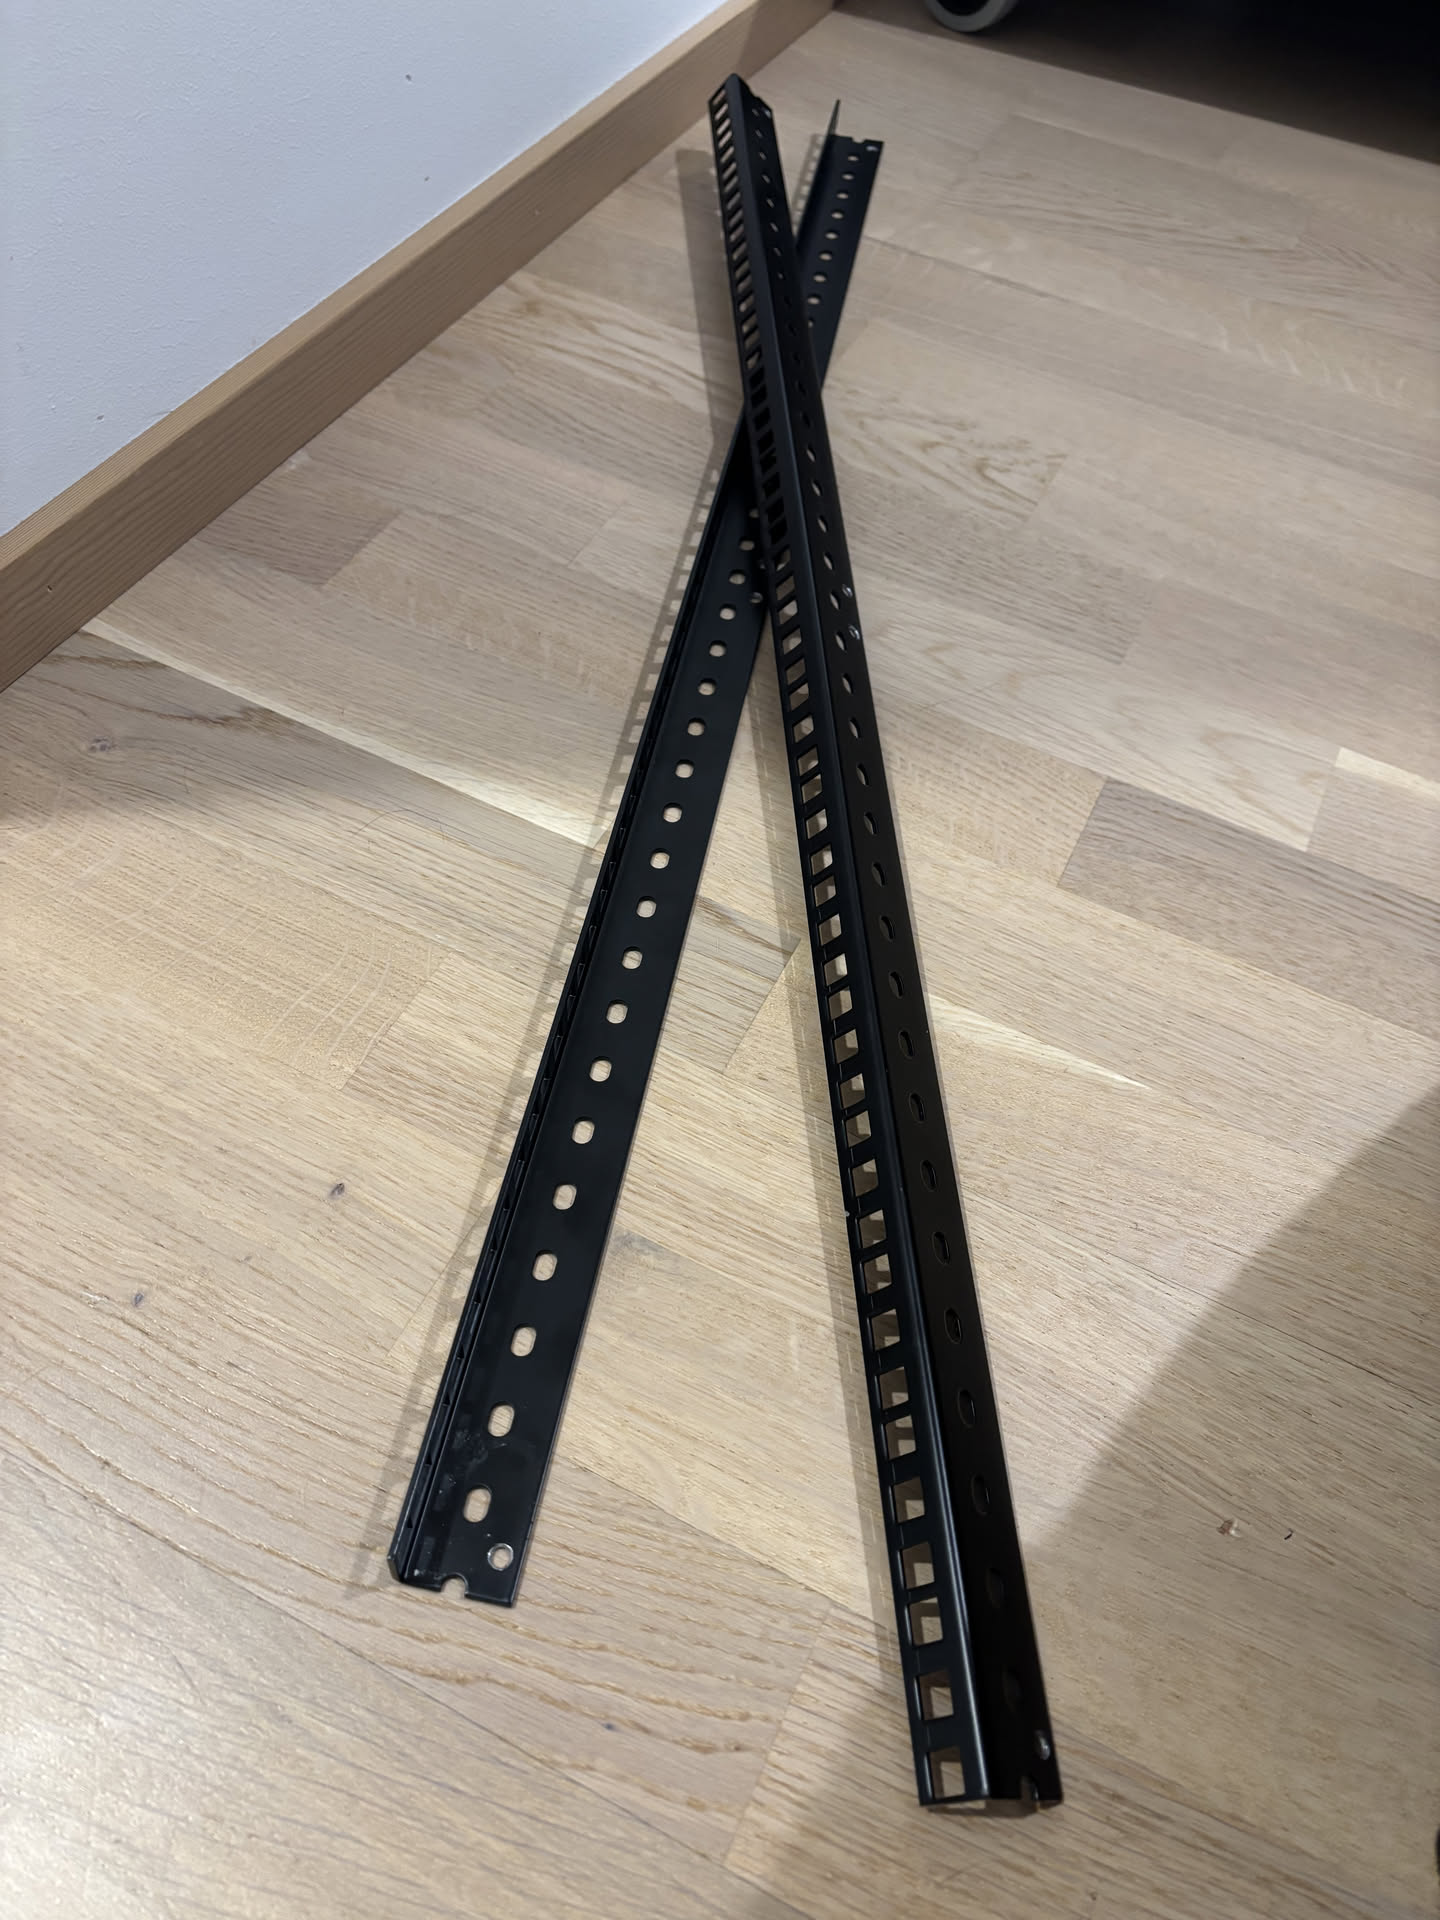
 Rails finished:
Mounting the rails
Now lets mount the rails we made to the table.
Use a small (1-3mm) drill to make a pilot hole for your screws. This prevents the wood from splitting.
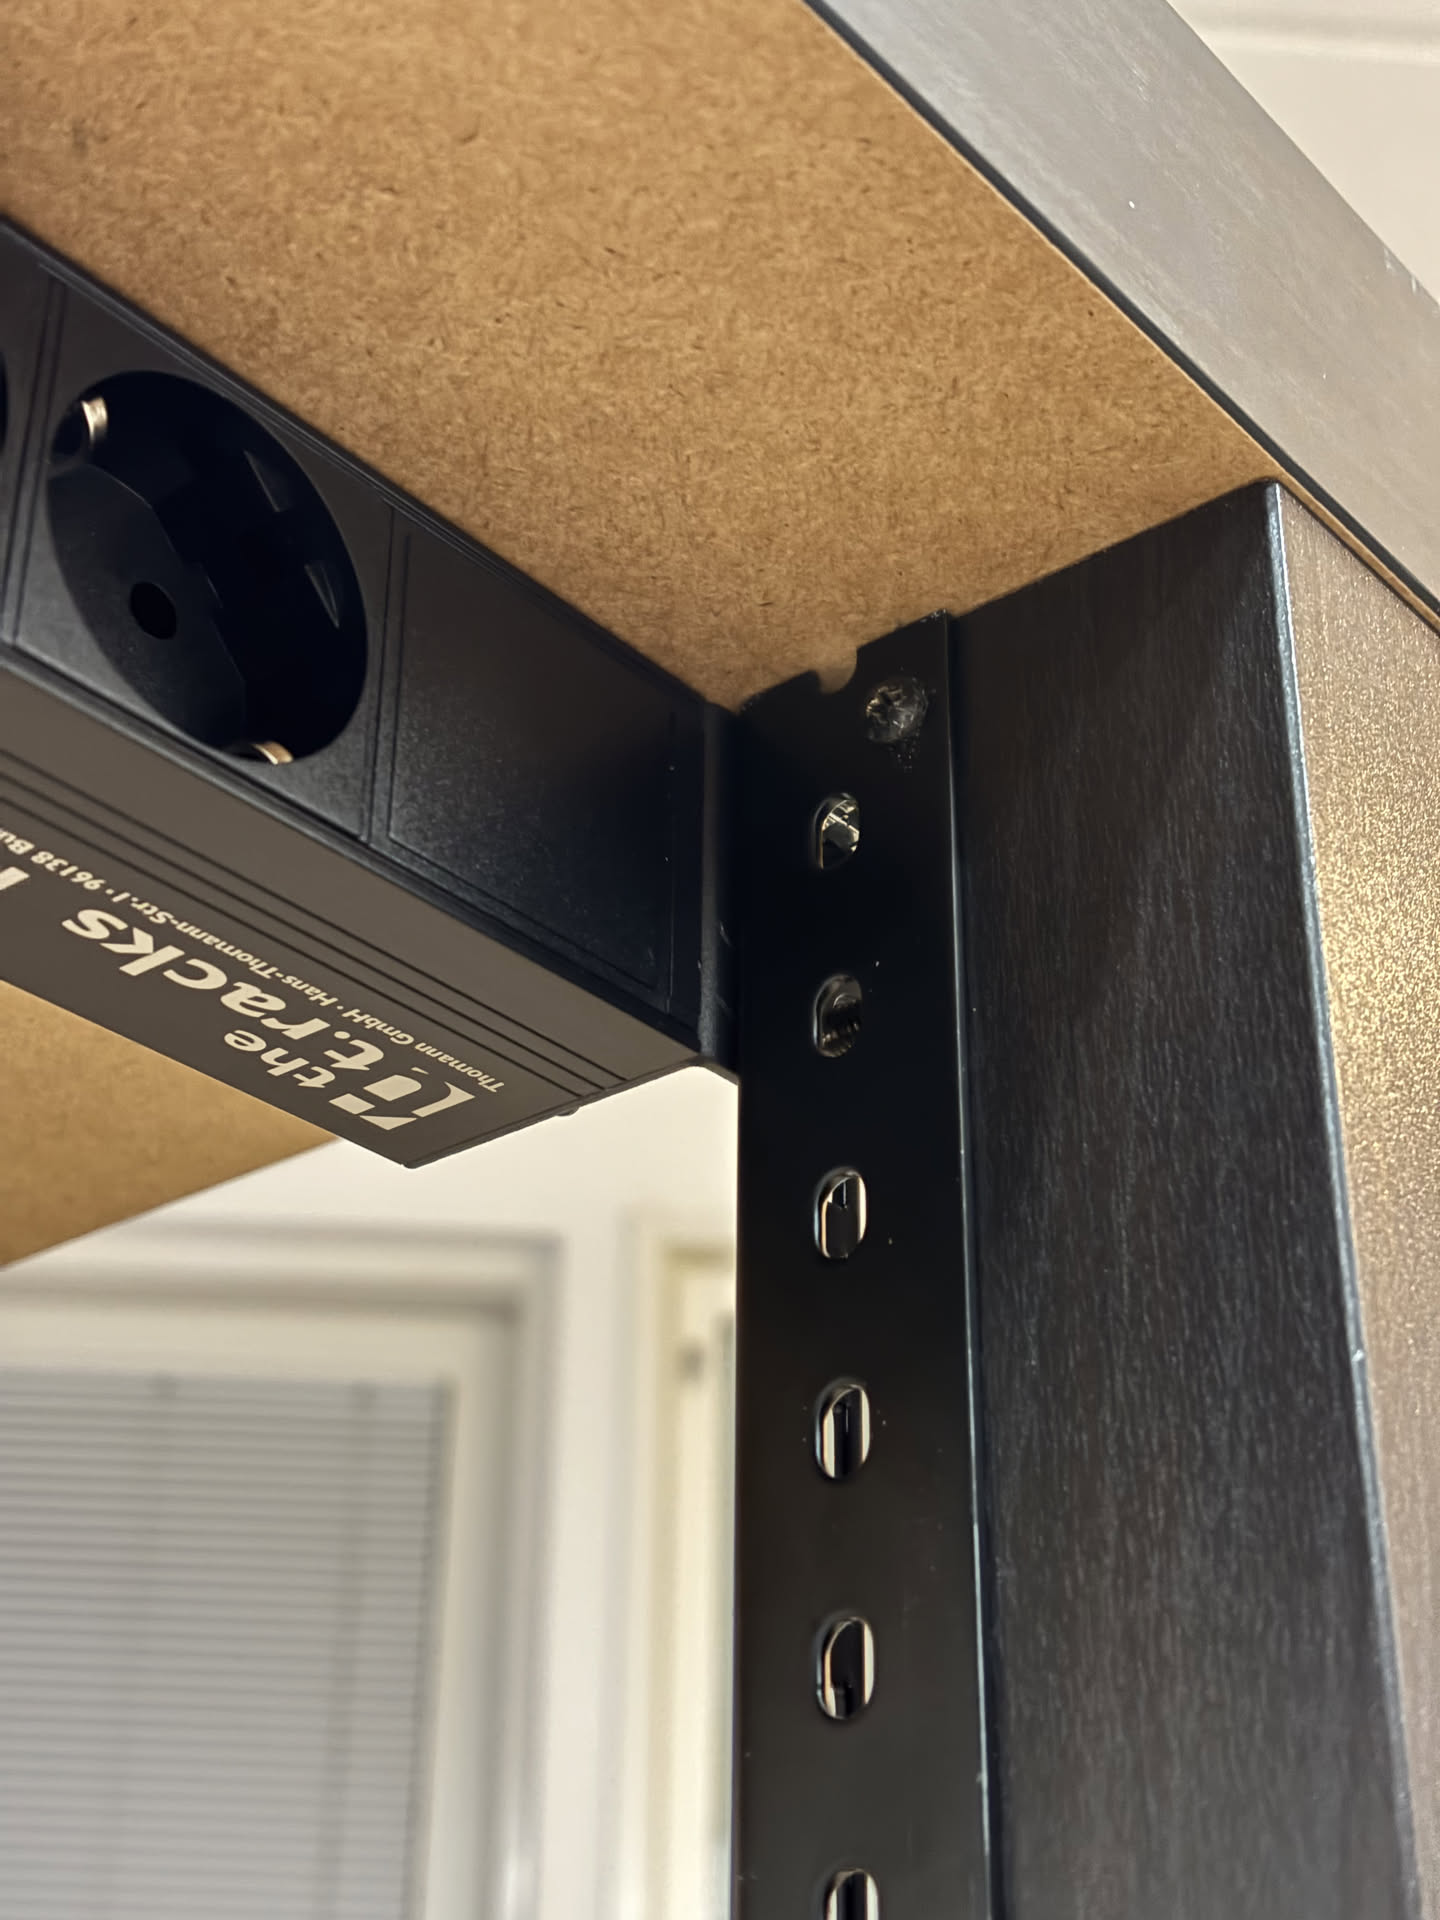
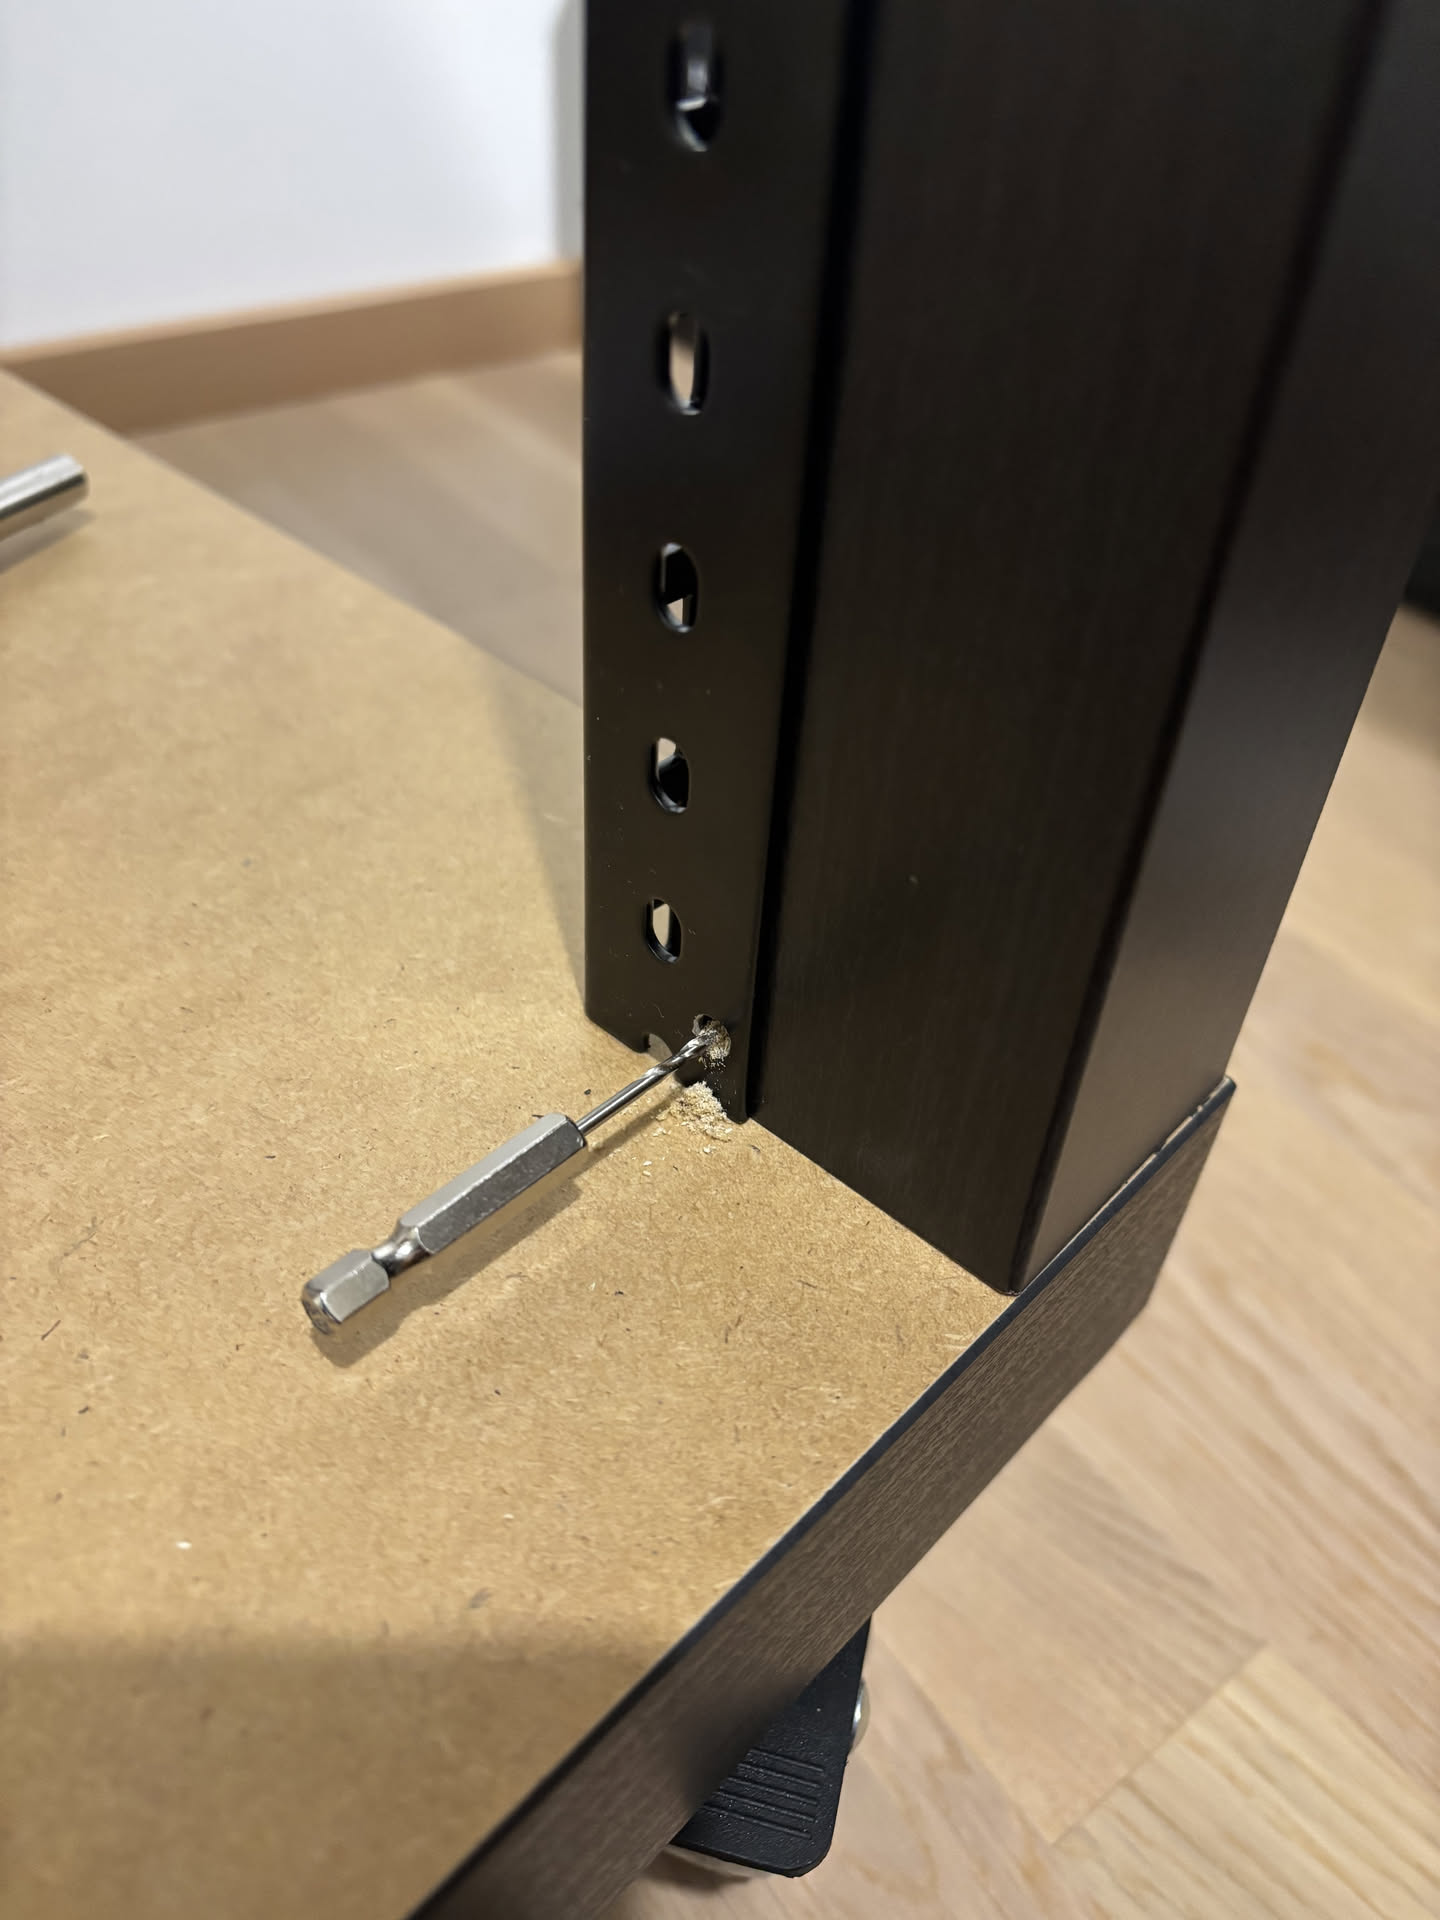 Middle holes are located at the bottom of each leg, where it has wood behind the cardboard outer shell:
 Use the holes in the rails to make sure they are perpendicular to the legs before drilling holes:
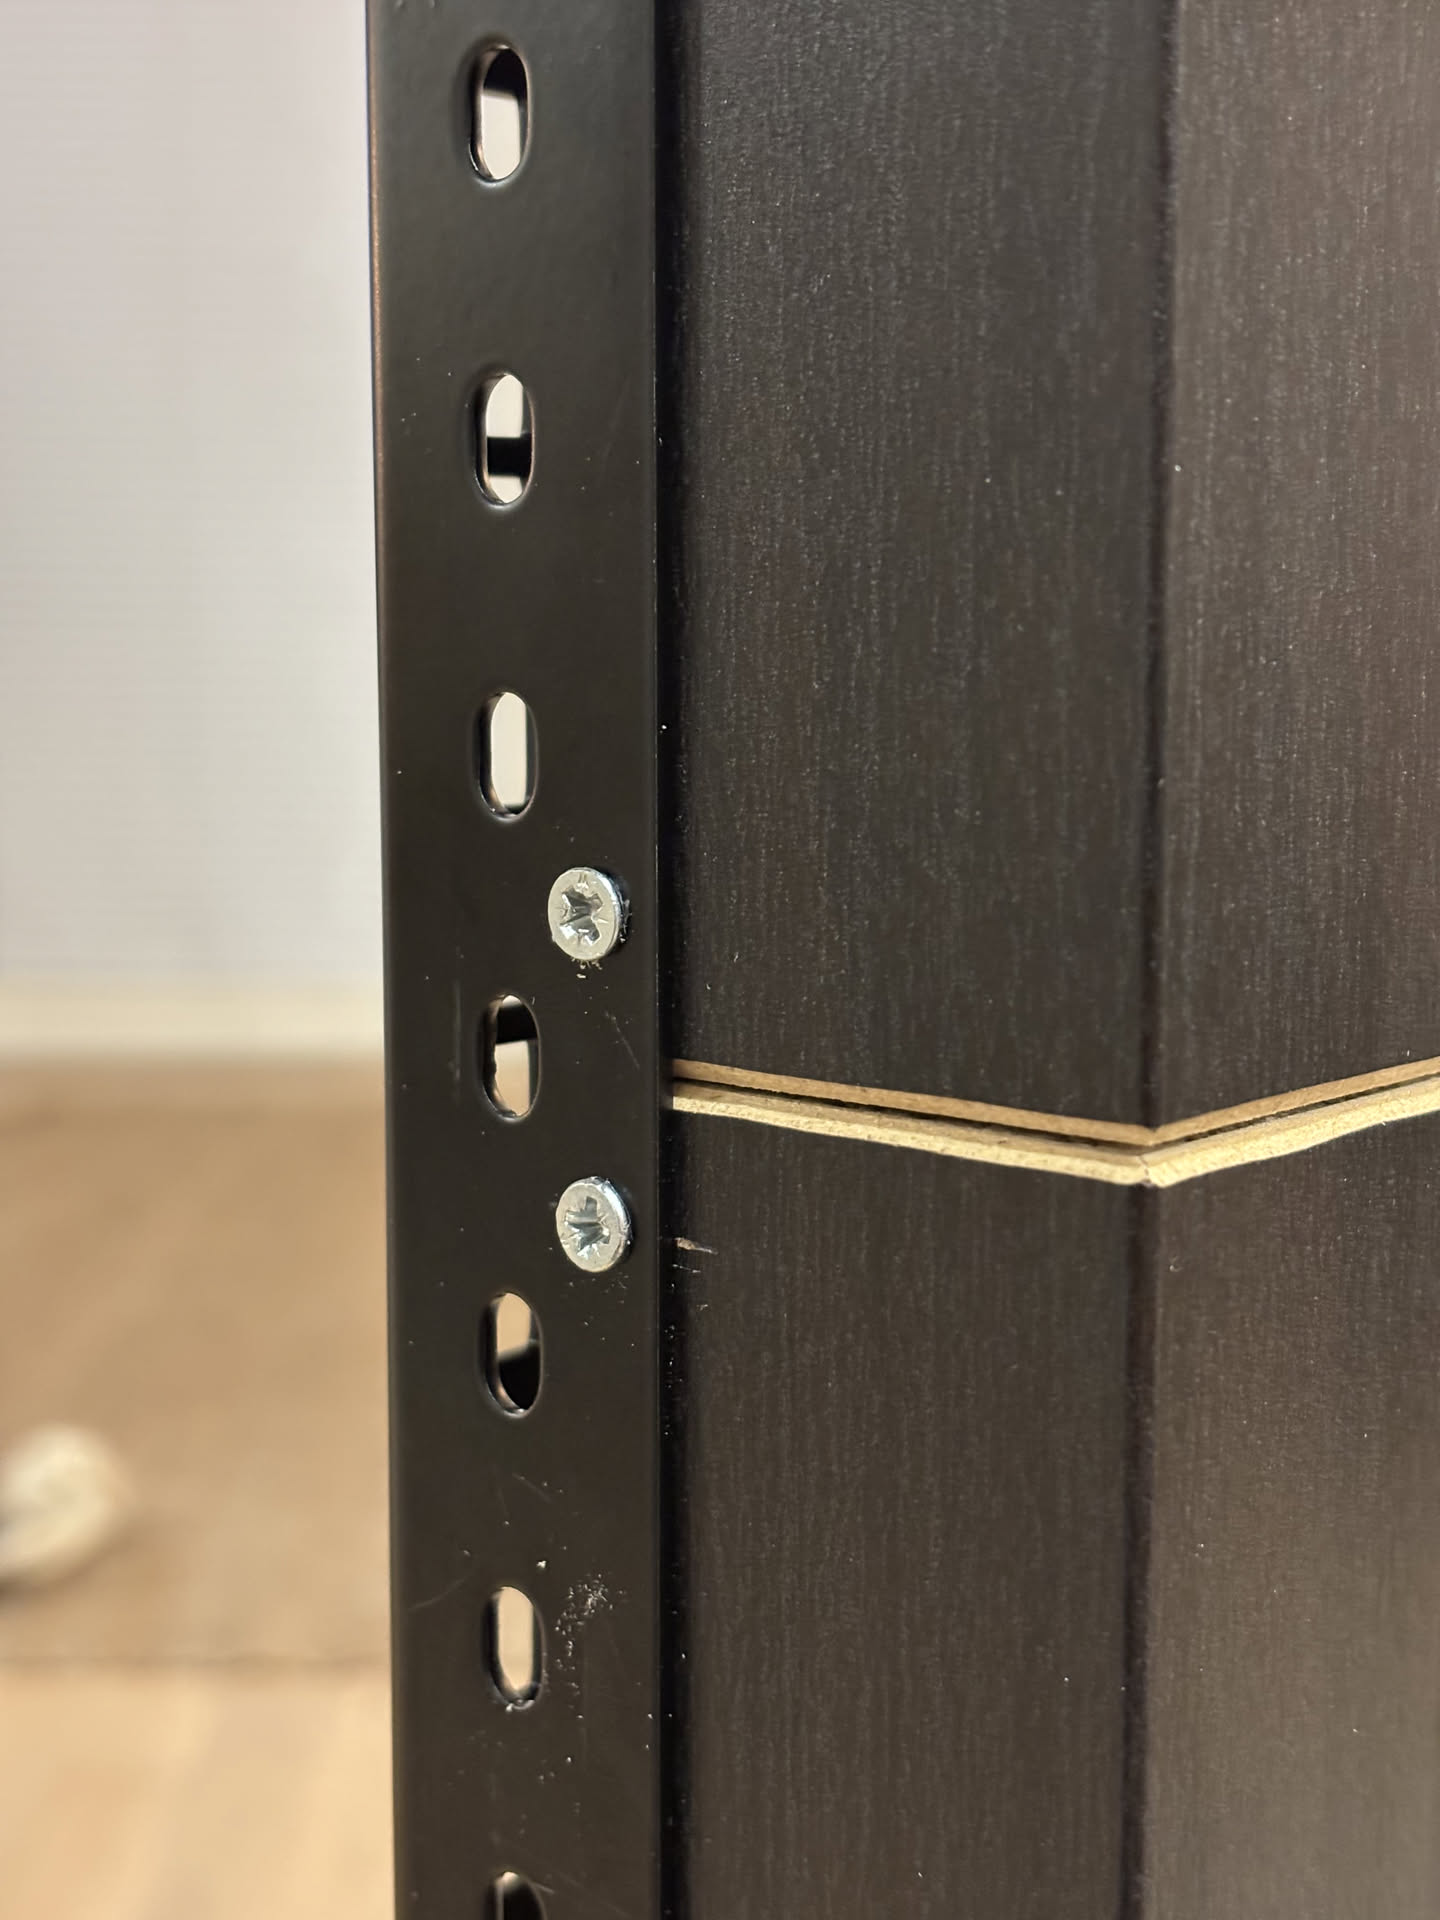
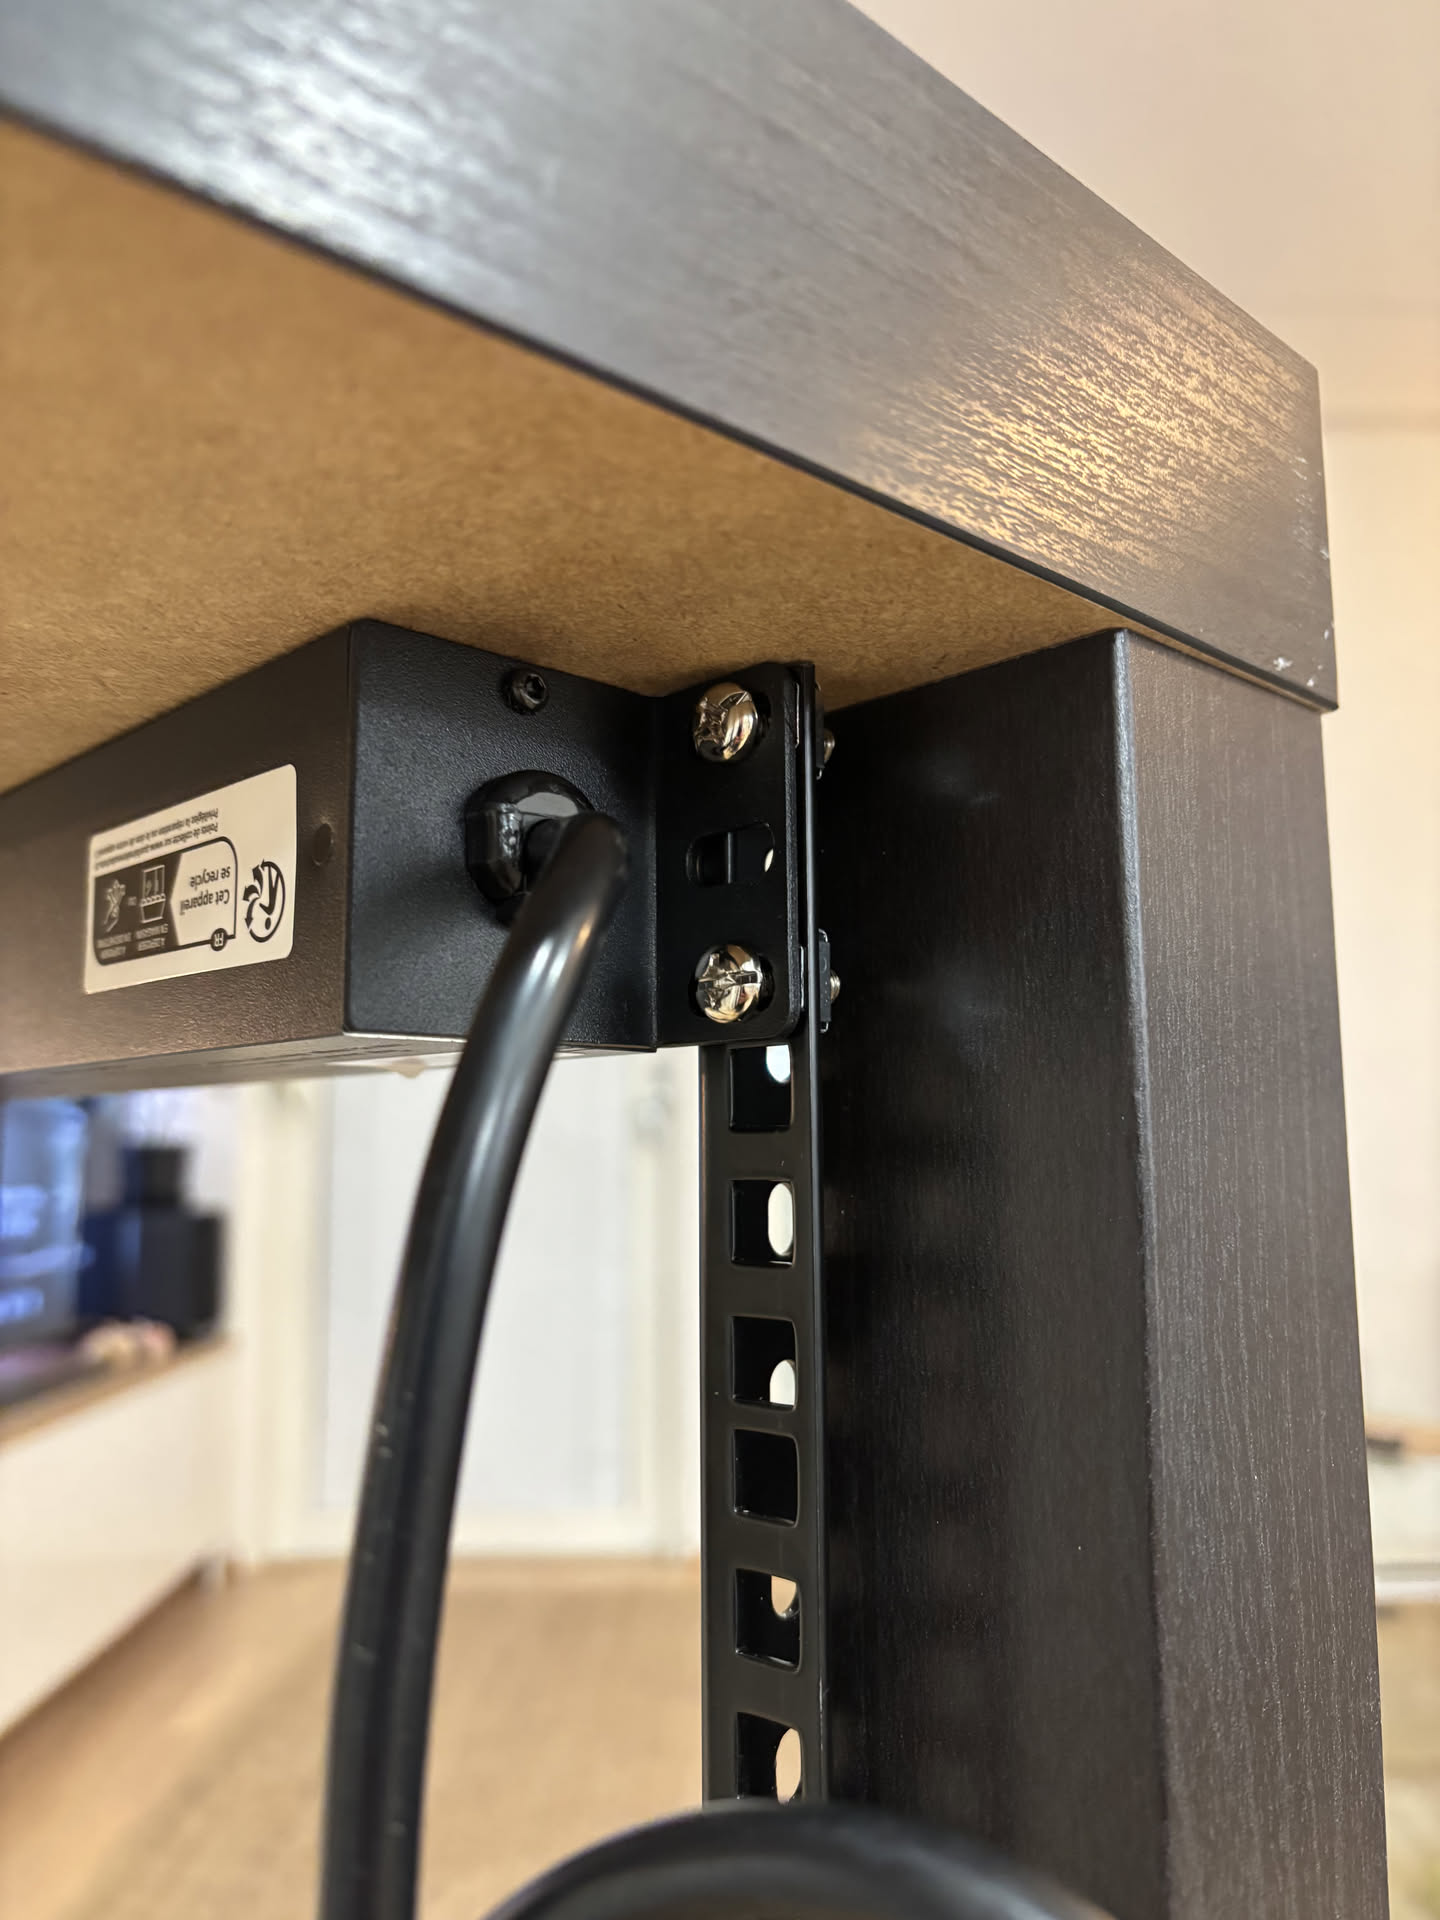
 Then screw in the rails to the legs:
Done!
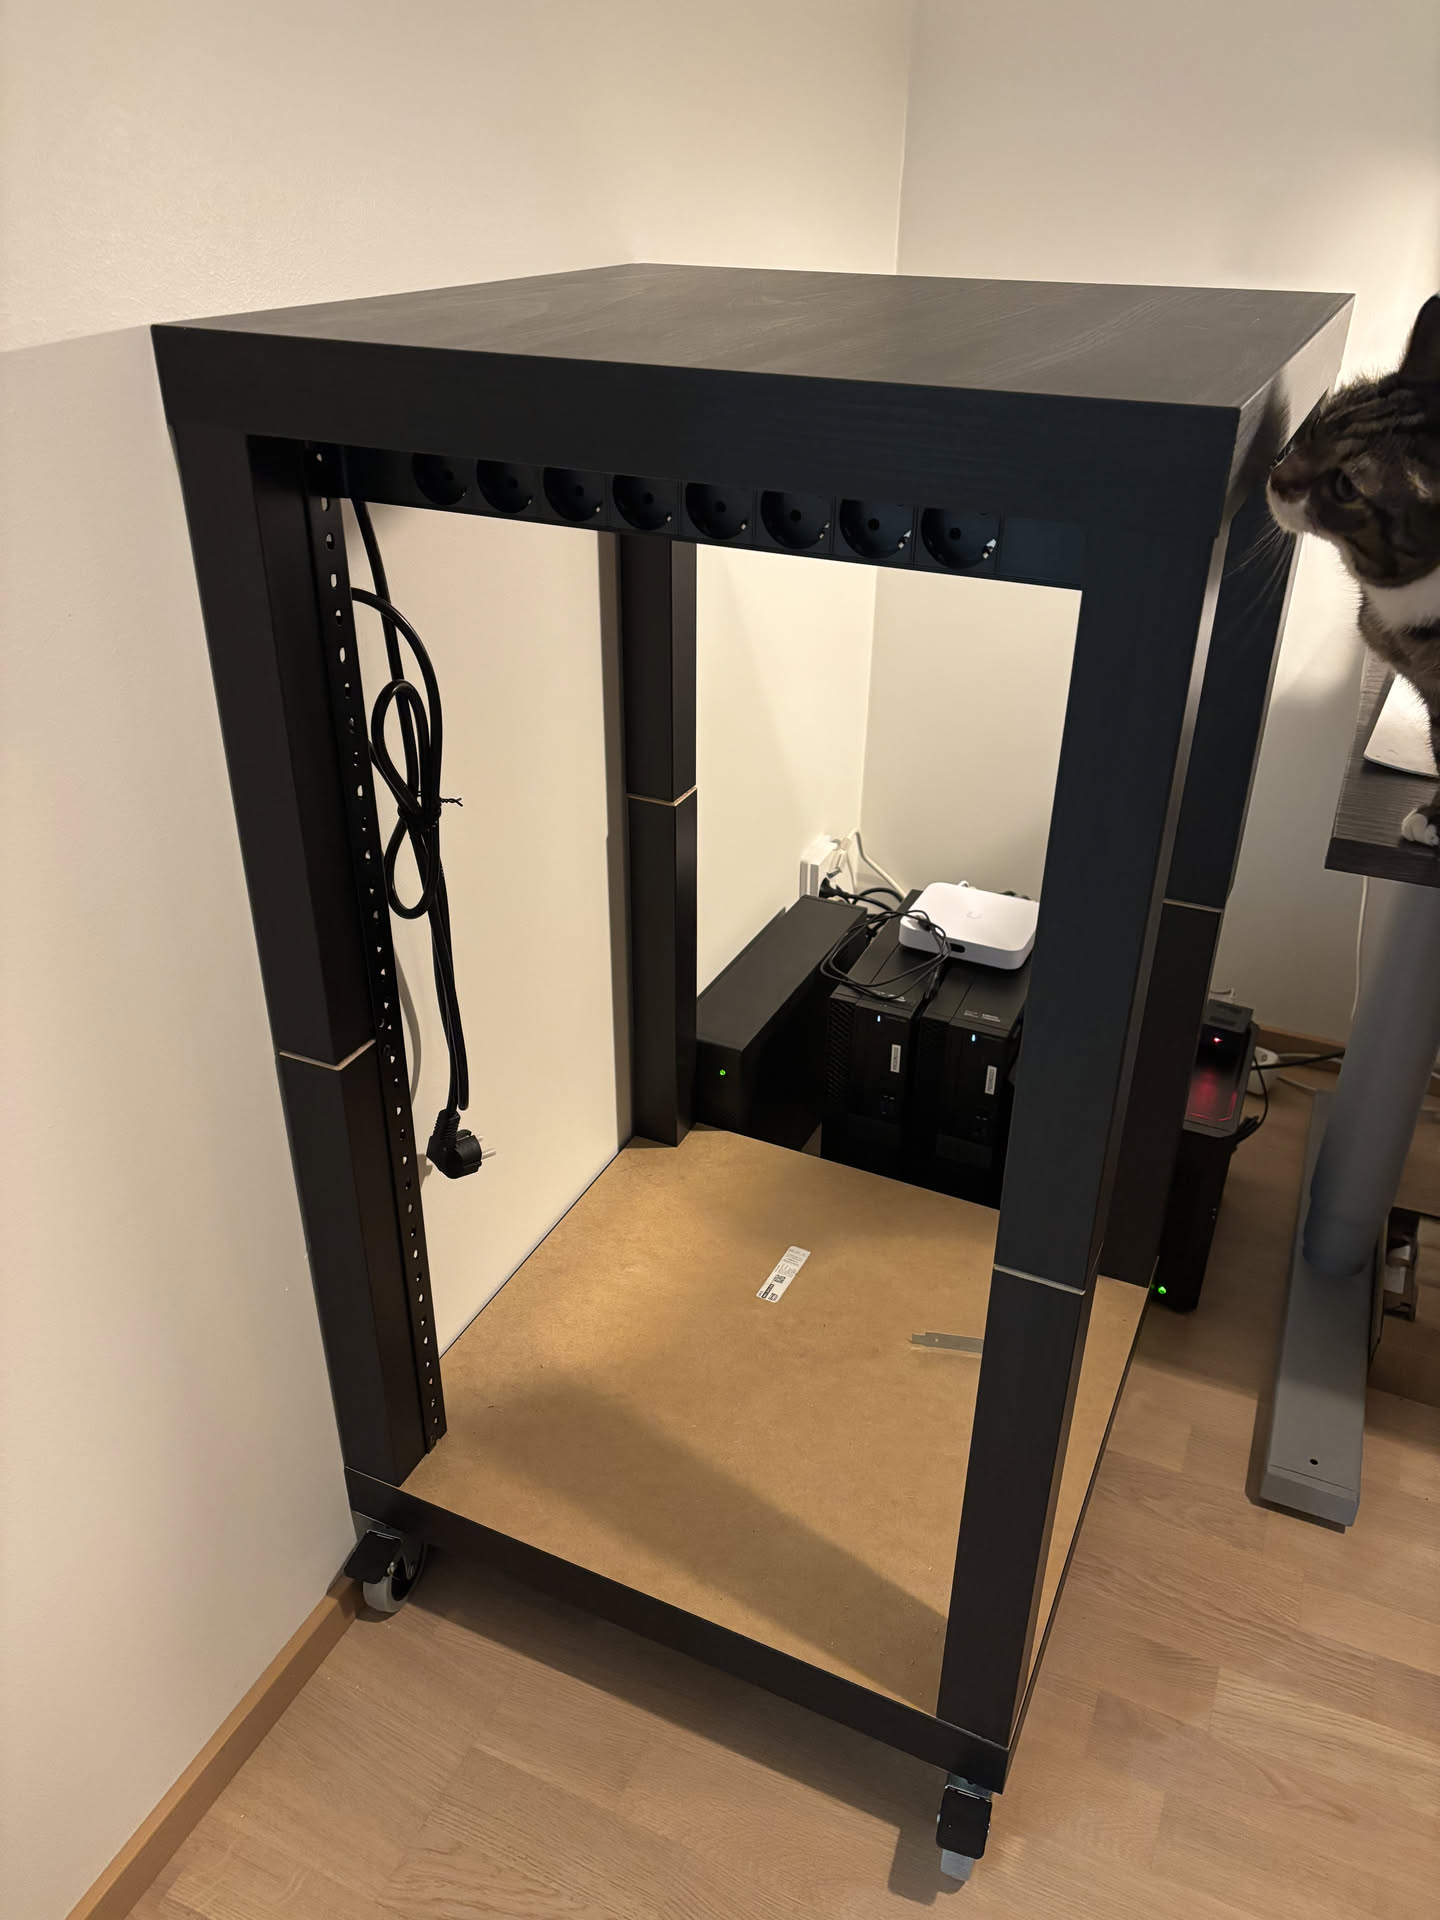
Finished rack
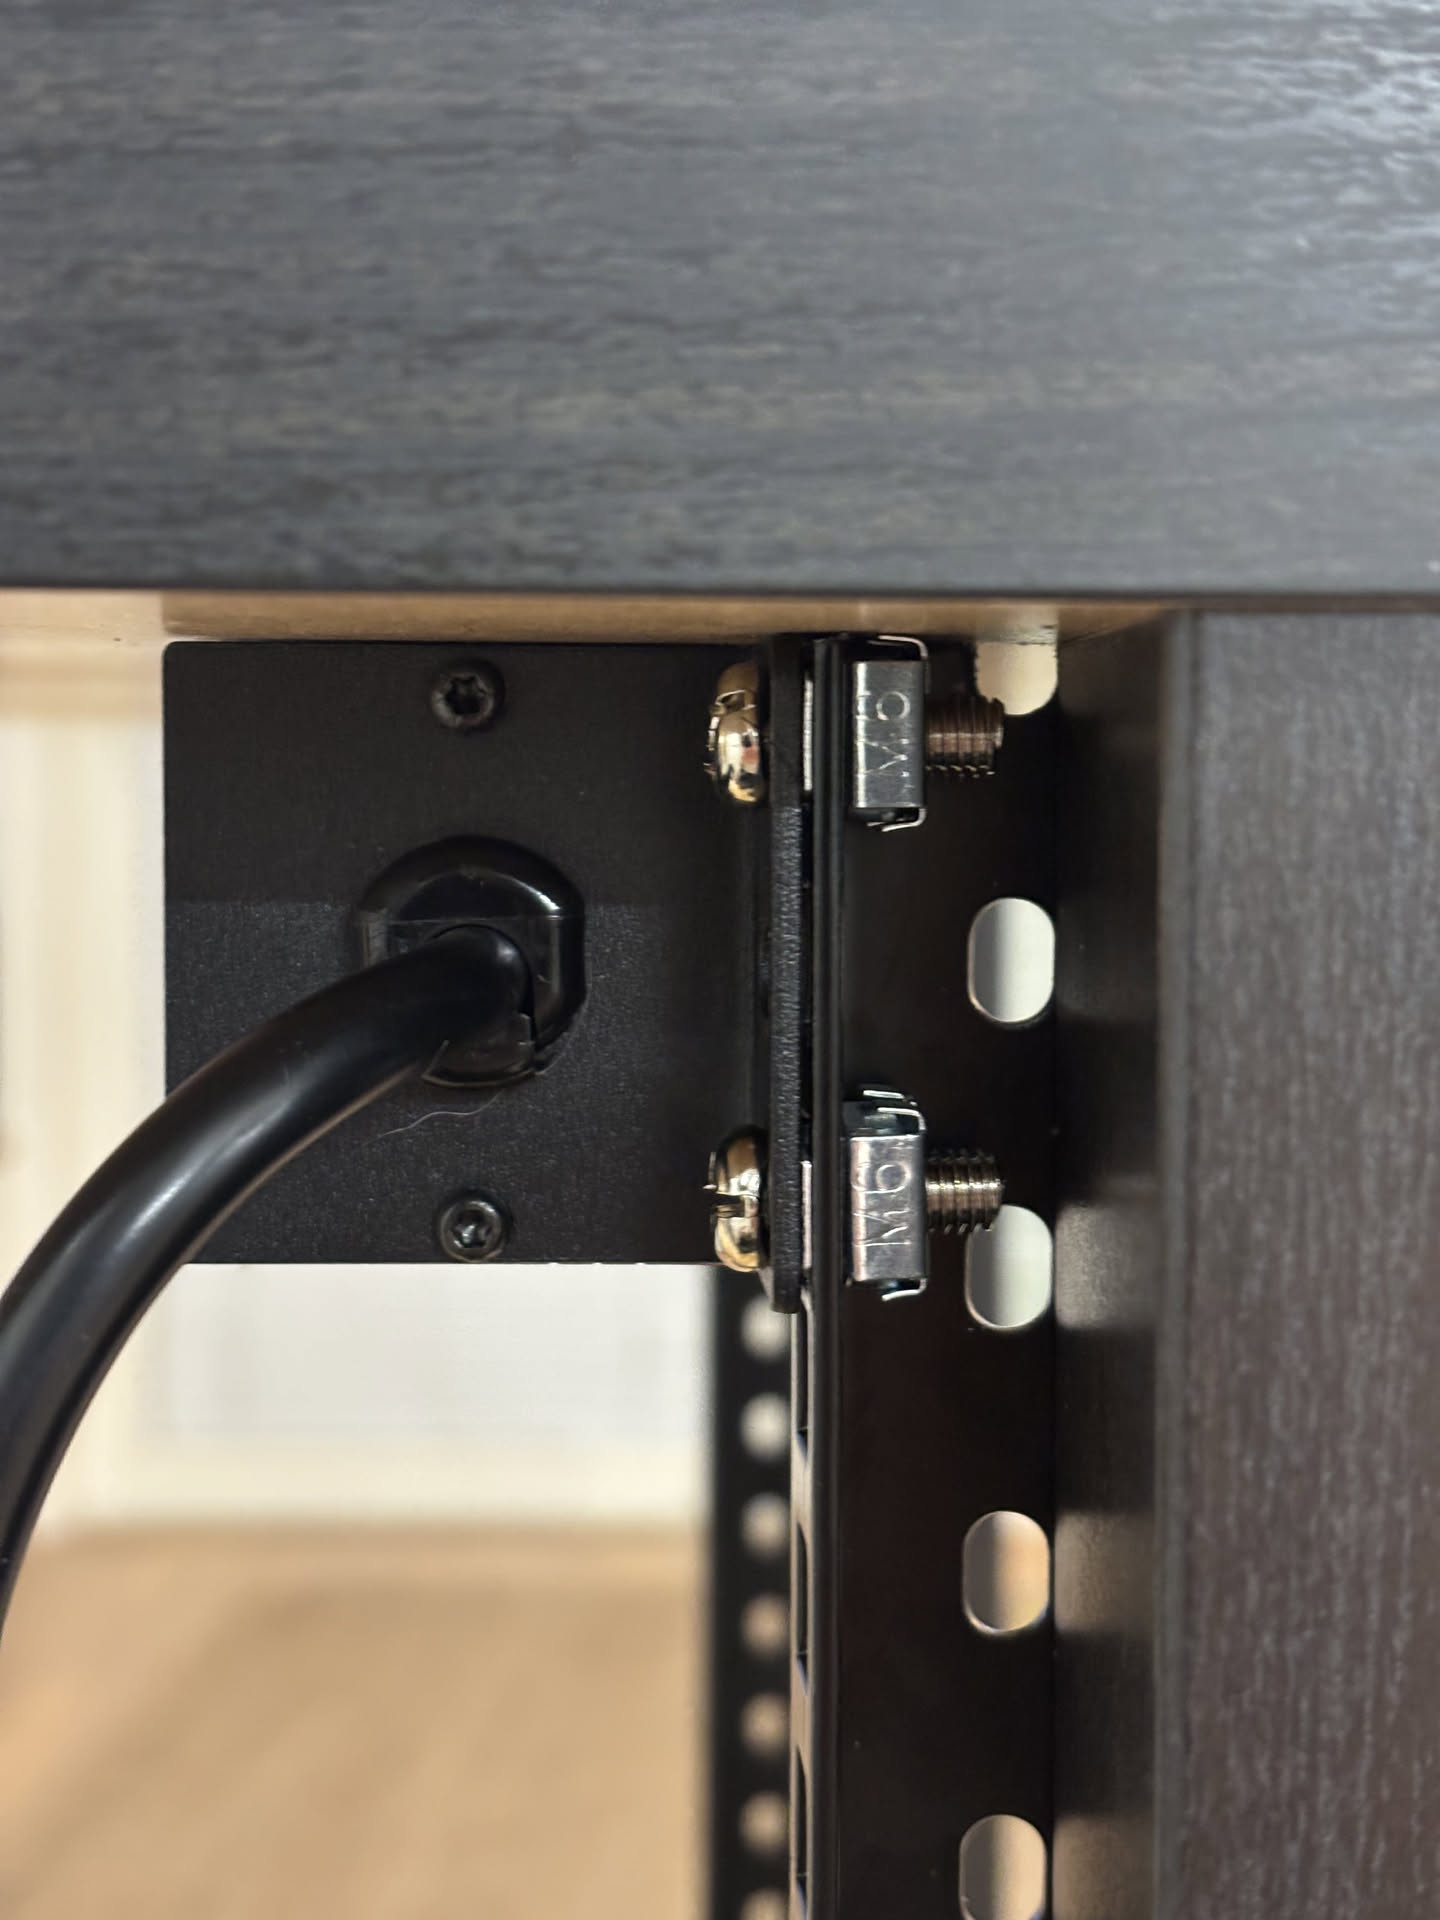
Now all you need to do, is add the cage nuts from behind for each device you want mounted.
Thomann 8-port shucko power strip mounted:
 Spacing is perfect even with the added width of the rails:
 Side view shows you have plenty of room to add the cage nuts and screw in equipment:
 Finished product (cat not included in your purchase!):